Advertisements
Why you need to install Google Tag Manager on WordPress website? You can effectively manage and integrate tracking tags for your digital marketing needs by installing Google Tag Manager.
This Google Tag Manager (GTM) tutorial will walk you through the entire process, from creating an account to installing the code on WordPress. The integration with the latest Google Analytics (GA4) will be covered in a separate guide.
For this reason, it’s recommended that you already have Google Analytics installed on your WordPress site. This will make it much easier to follow along.
So, what exactly is Google Tag Manager and what does it do? How do you use it? And how do you install it on WordPress? Read on for the complete guide!
Advertisements
What is Google Tag Manager and What Does It Do?
Google Tag Manager is a tool created by Google to manage tags on a website or mobile app. It allows you to add and update tags without having to directly modify the code on your site.
In short, the function of Google Tag Manager is to simplify the process of adding, updating, and managing tracking codes and scripts on a website.
So how do GTM, Google Analytics, and WordPress all connect? Google Tag Manager facilitates the management of tags on your WordPress site, while Google Analytics is responsible for collecting and analyzing data about visitor interactions on that site.
There are three essential components within Google Tag Manager:
- Tags: In Google Tag Manager, these are snippets of code or tracking scripts placed on your website or app. Their function is to collect data.
- Triggers: These determine when a tag should be fired based on specific actions that occur on your site.
- Variables: These are values that can change and are used to provide additional information or conditions for tags and triggers.
It might seem a bit confusing if you haven’t tried it yet, but don’t worry. As you work through this guide, you’ll gradually understand how it all works.
How to Install Google Tag Manager on WordPress
In this tutorial, we will integrate Google Tag Manager as the tag management platform, WordPress as the website, and Google Analytics as the tool for analyzing website visitor data.
Therefore, in addition to having a WordPress website, you should also have Google Analytics installed. Once you’re ready, here’s how to set up Google Tag Manager:
Advertisements
a. Create a GTM Account
The first step to installing Google Tag Manager on WordPress is to create a GTM account. At the end of this process, you will receive a code to add to your WordPress site.
- Create an account on the official Google Tag Manager (GTM) page. It’s best to use the same Google account that you use for Google Analytics.
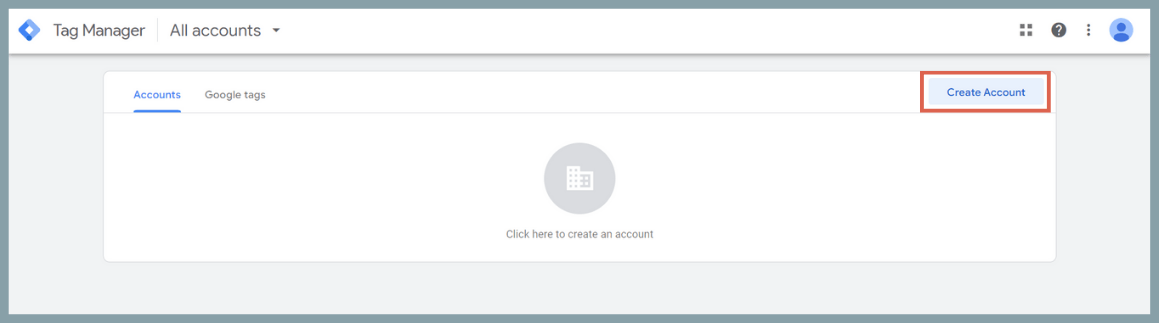
- Once there, on the GTM homepage, click Create Account.

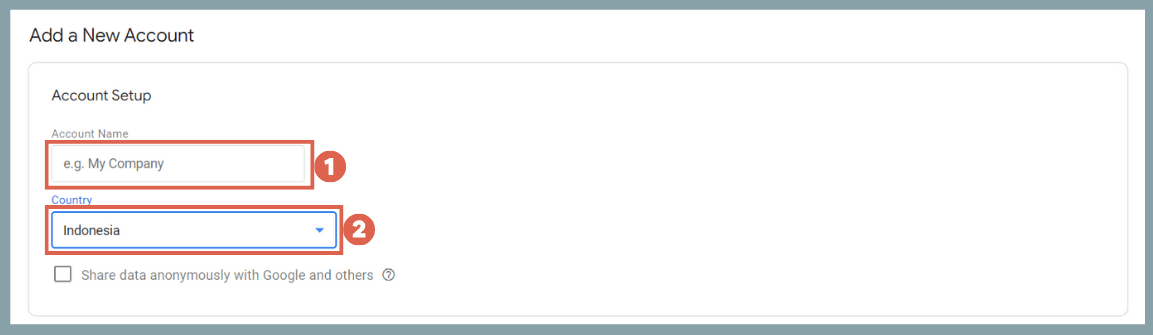
- In the Account Setup section, enter an Account Name. Then, select a country.

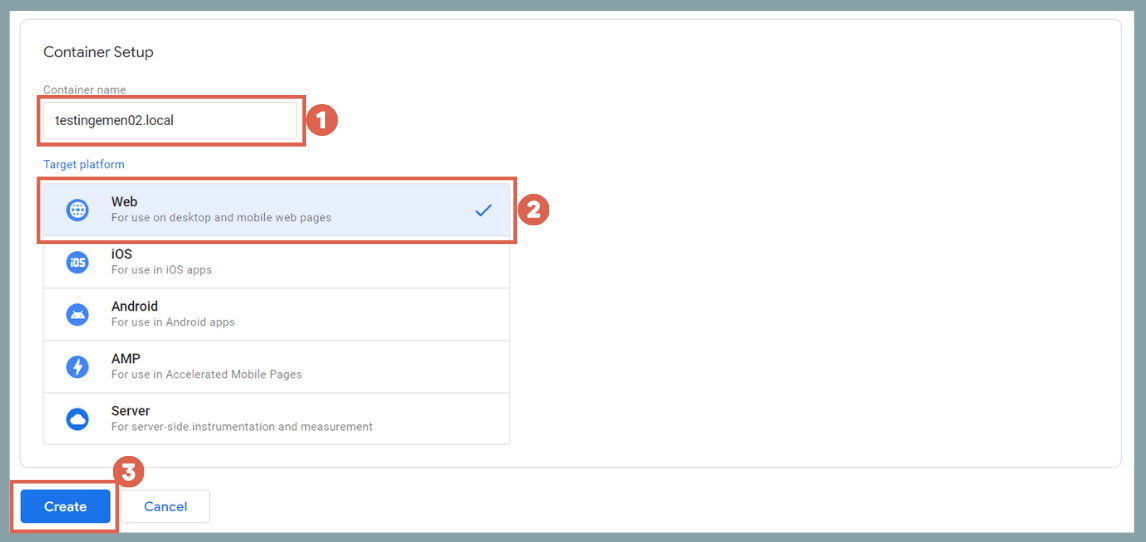
- Scroll down to the Container Setup section. Fill in the Container name with your website’s name or a name of your choice. For this example, we’re using testingemen02.local. Under Target platform, select Web. Once done, click Create.

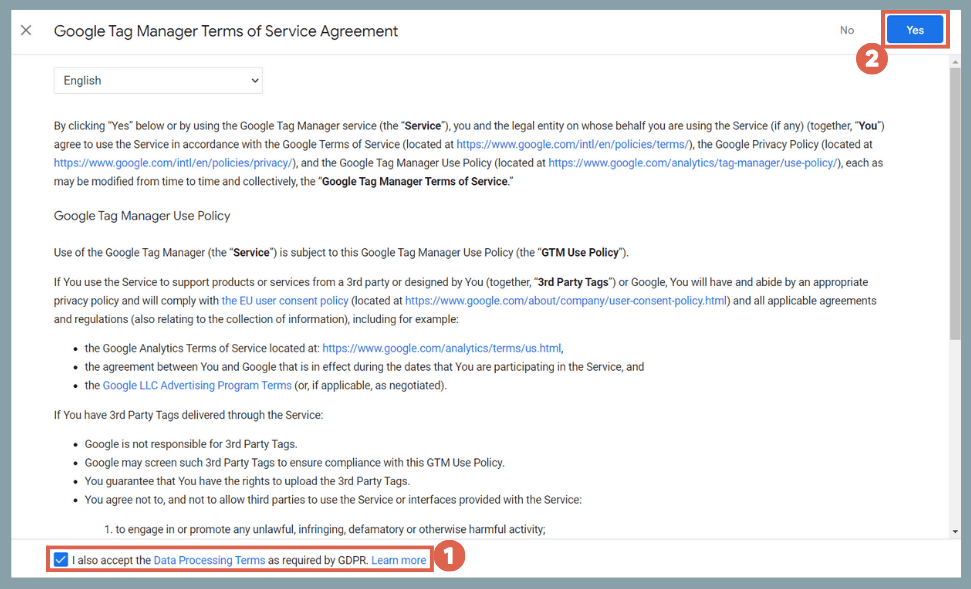
- On the Service Agreement page, check the box at the bottom and then click Yes.

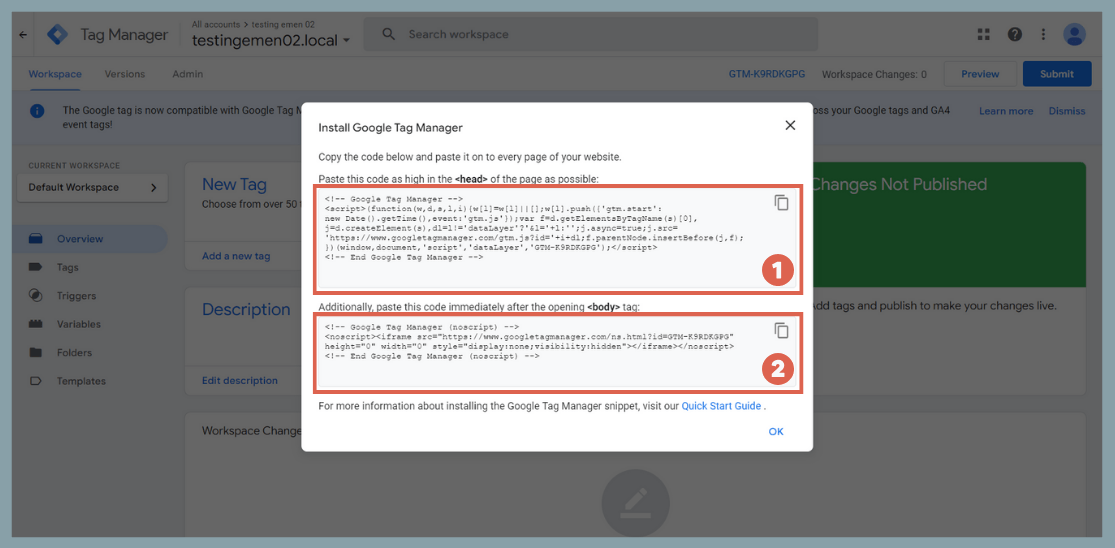
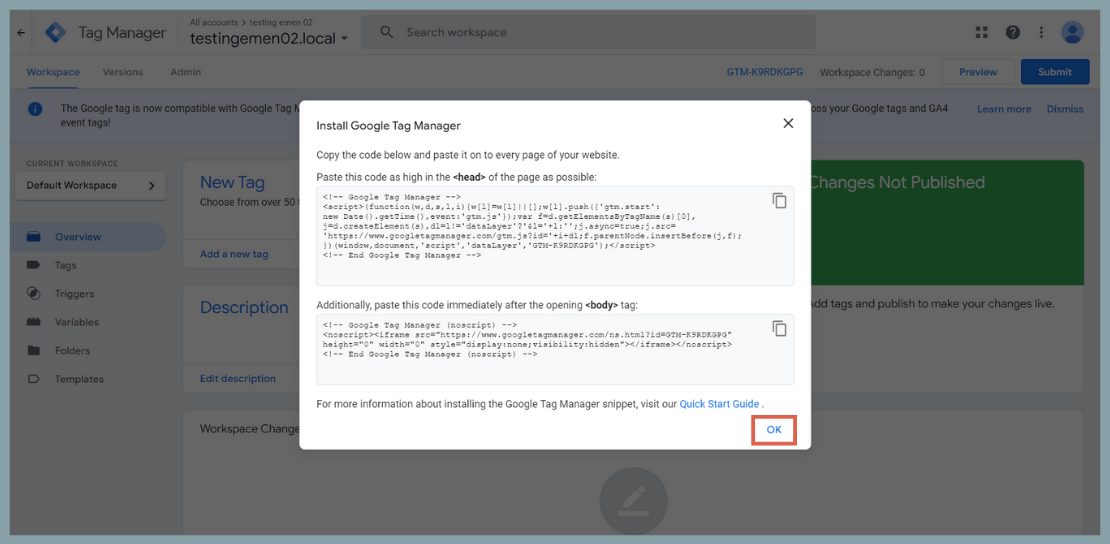
- A pop-up will appear with code snippets for the <head> and <body> sections to install GTM on WordPress. Copy these codes. You will embed this code into your website.

- If you accidentally close the pop-up, you can find the code again by clicking on your GTM ID at the top of the GTM page.

Also Read:
At this point, you have successfully created a GTM account. Next, you can use the code you copied to connect it to your WordPress website.
b. Install Google Tag Manager on WordPress
You can install the Google Tag Manager code by placing it directly into your theme’s files, specifically in the header and body. However, this manual method is best left to developers.
If you’re not a developer, the easiest way to install the code is by using a WordPress plugin. The recommended plugin is WPCode – Insert Headers and Footers. Once you have installed the plugin, follow these steps:
- Make sure you have copied the code snippets from the previous step.
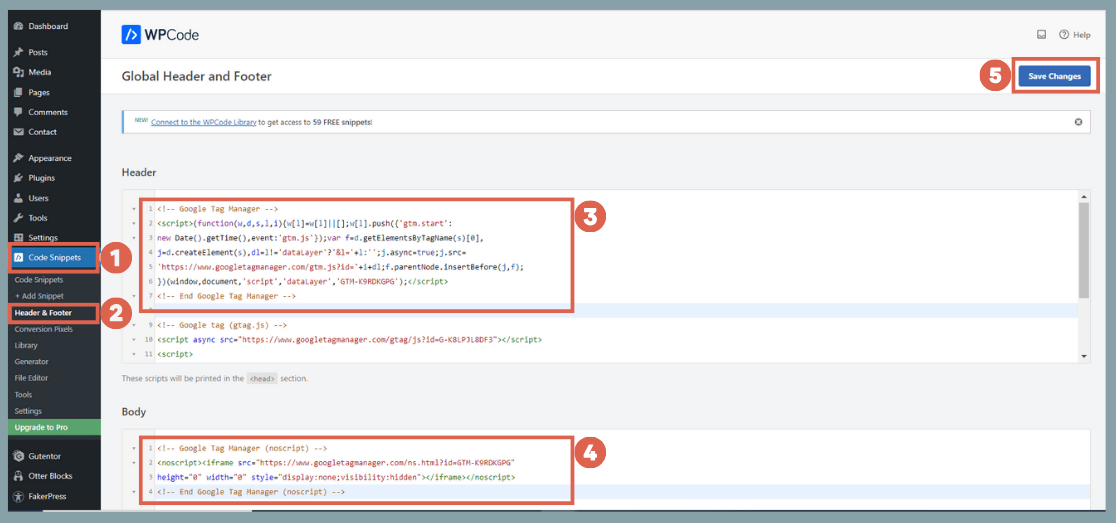
- Go to your WP-Admin dashboard and click on Code Snippets, which appears after you successfully install the WPCode plugin. Then, select the Header & Footer option. In the Header section, paste the <head> code at the very top. In the Body section, paste the <body> code at the very top.

- Once finished, click Save Changes.
- That’s it! You can now return to the GTM page. In the snippet pop-up, click OK.

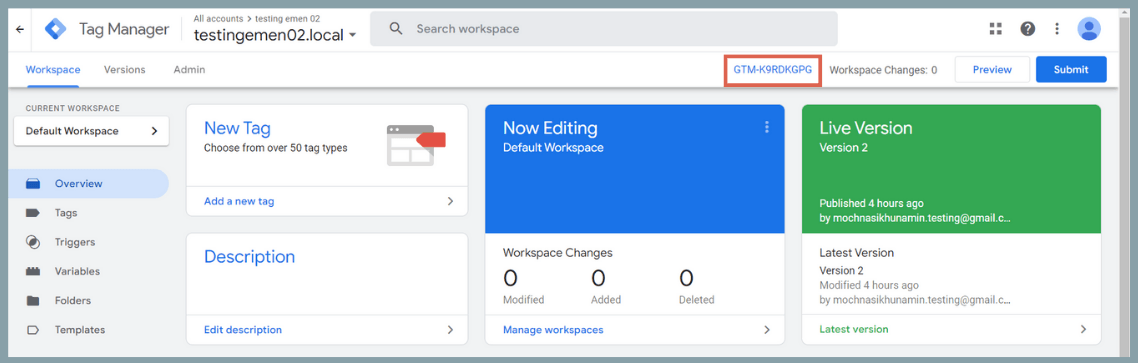
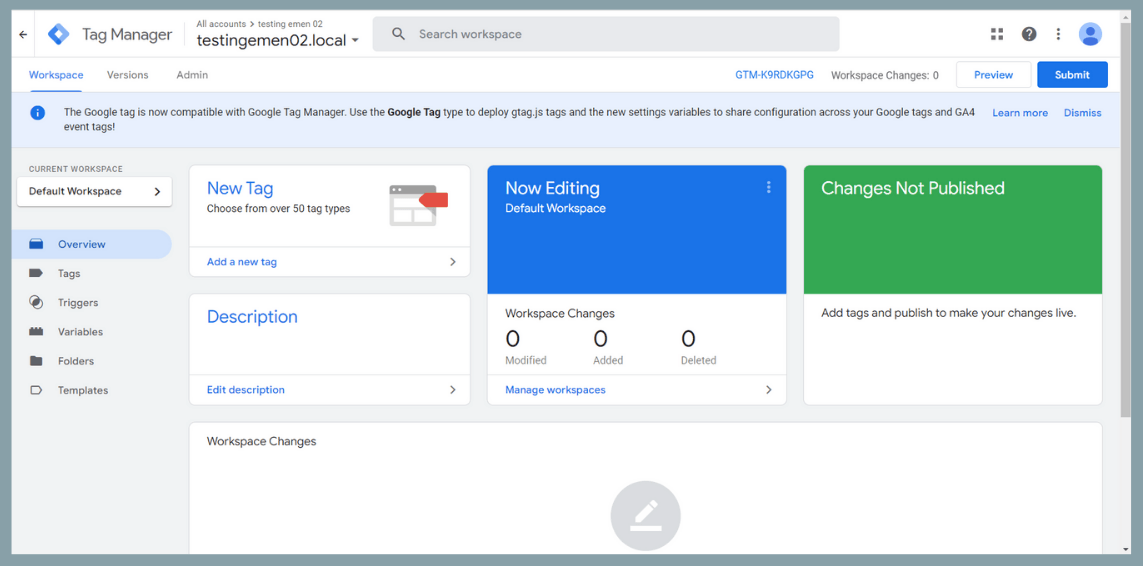
You have now successfully installed Google Tag Manager on WordPress. Your Google Tag Manager homepage should look like this:
Advertisements
Successfully Installed Google Tag Manager on WordPress?
Once you have created your GTM account and inserted the code into WordPress, the installation process is complete.
To get the most out of GTM, your next steps will involve actions like (1) creating new tags, (2) configuring tags, (3) adding triggers, and (4) monitoring performance in Google Analytics.
If you have any questions, encounter any issues, or need a WordPress or WooCommerce developer, please feel free to contact us at Tonjoo, and we’ll be happy to help!

For more articles on WordPress, WooCommerce, and web development, check out Tonjoo Studio Blog by Moch. Nasikhun Amin.
Last Updated on July 19, 2025 by Moch. Nasikhun Amin

Advertisements