Advertisements
In this sixth part of the Gutenberg WordPress tutorial series, following the successful creation of the Slider or Carousel, we will now shift our focus to tutorial on how to create client logosection Home page.
The client logo section is a crucial element for a website as it allows the website owner to showcase their collaborations with specific companies or brands. This section plays a significant role in building credibility for the company or brand in the eyes of the website visitors.
Although we will be creating a simple section in this tutorial, keep in mind that you have the flexibility to expand and customize it according to your preferences. The client logo section we will create will have a similar appearance to the following:
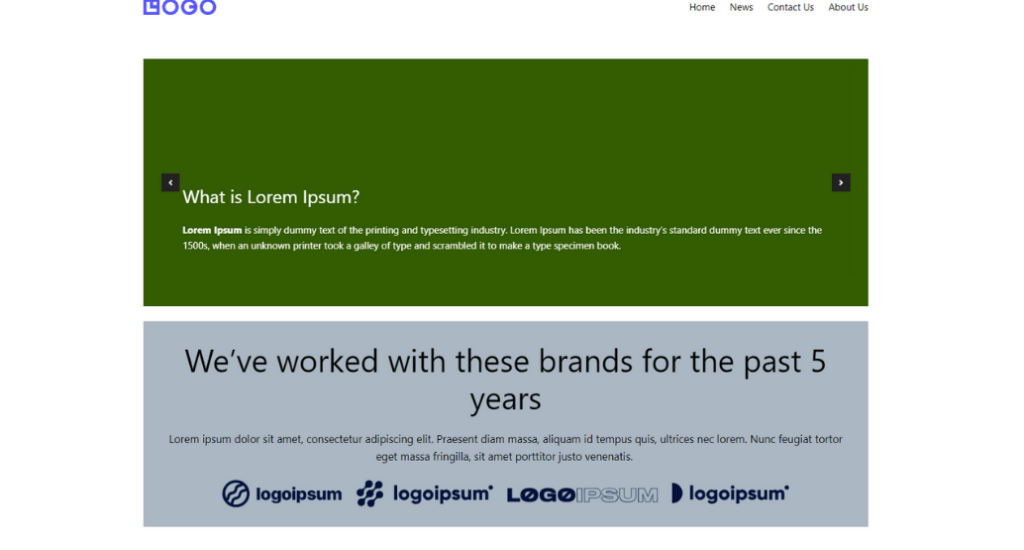
Final result of creating client logo section in website using WordPress Gutenberg editor.
Advertisements
How to Create Client Logo Section on WordPress
To create this section, we will go through four steps, which involve (1) setting up the framework for the heading and description, (2) establishing the framework for the client logos, (3) populating the framework with text and logos, and finally (4) making some simple adjustments for a polished look.
Step 1: Establishing the Structure for the Heading and Description
In this initial phase, we will create a well-organized structure to accommodate the essential elements of the client logo section, specifically the heading and its accompanying description.
To achieve this, we will utilize various blocks provided by the Gutenberg Editor, including the Stack, Heading, and Paragraph blocks. Here’s a step-by-step guide to get started:
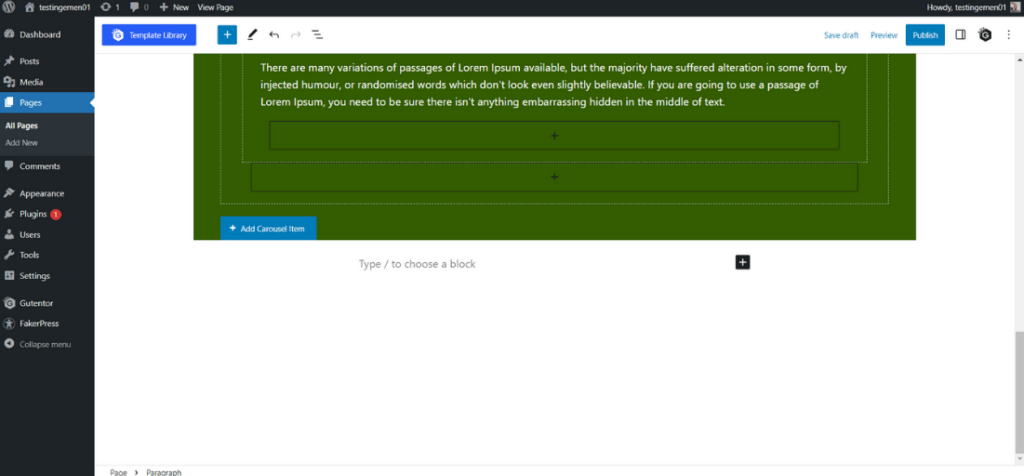
- Open the previously created Page that already contains the Slider. Scroll down to the bottom section where the client logo section will be placed.

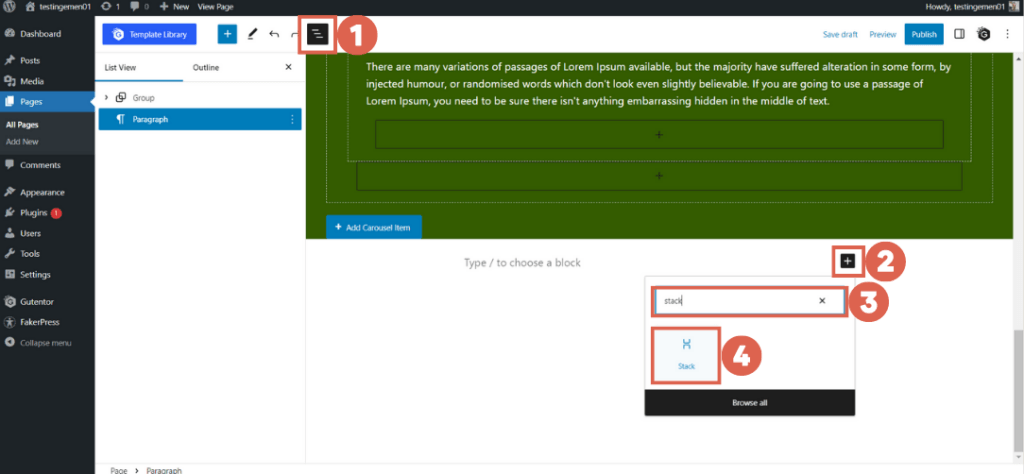
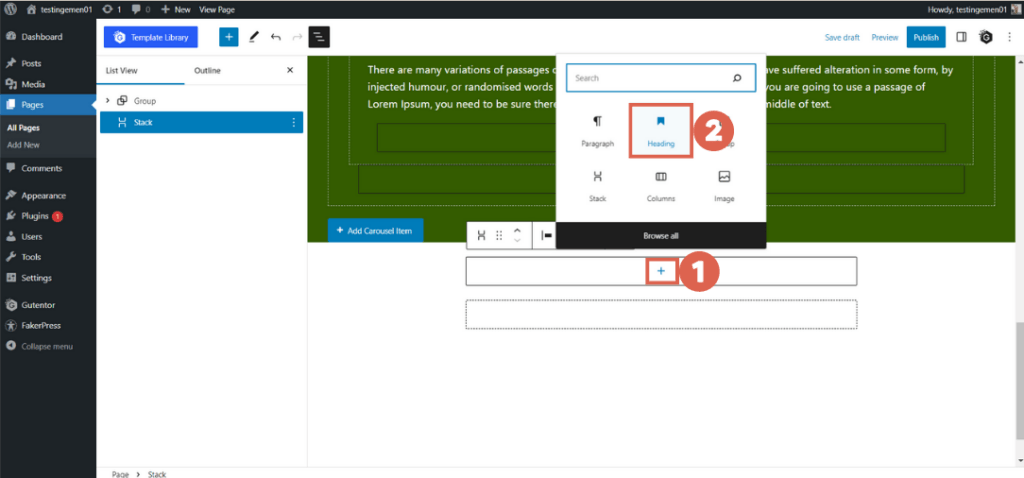
- To facilitate the editing process, open the List View > click [+] to add a new block > type stack in the Search Box > select the Stack block, which allows us to combine the blocks above and below into a single unit.

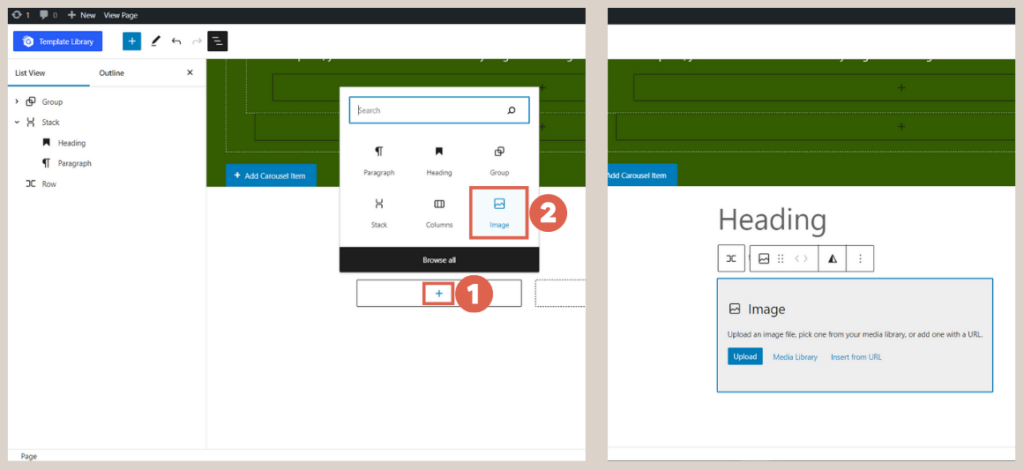
- Inside the Stack block, click [+] > choose the Heading block. This block will serve as the section title.

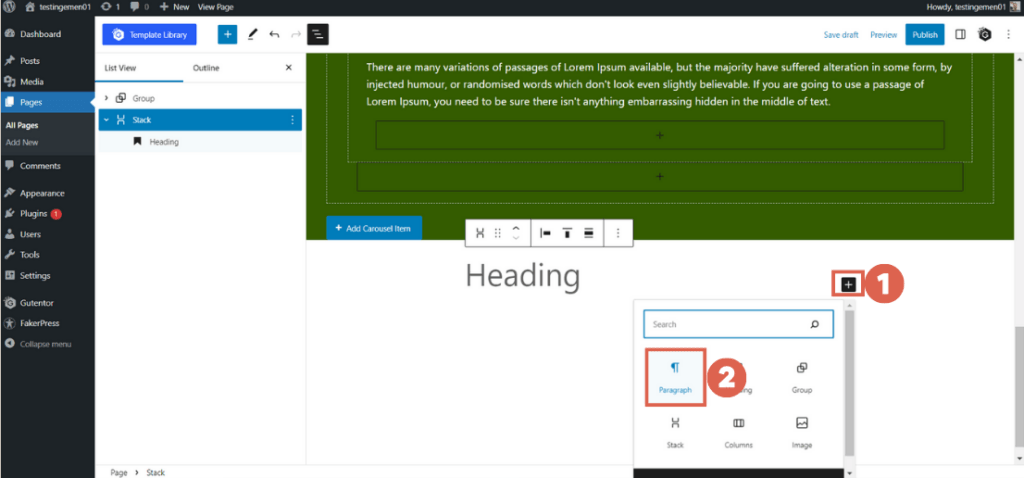
- After adding the Heading block, click [+] below it > select the Paragraph block. The Paragraph block will be used to add a description or any additional information to the section.
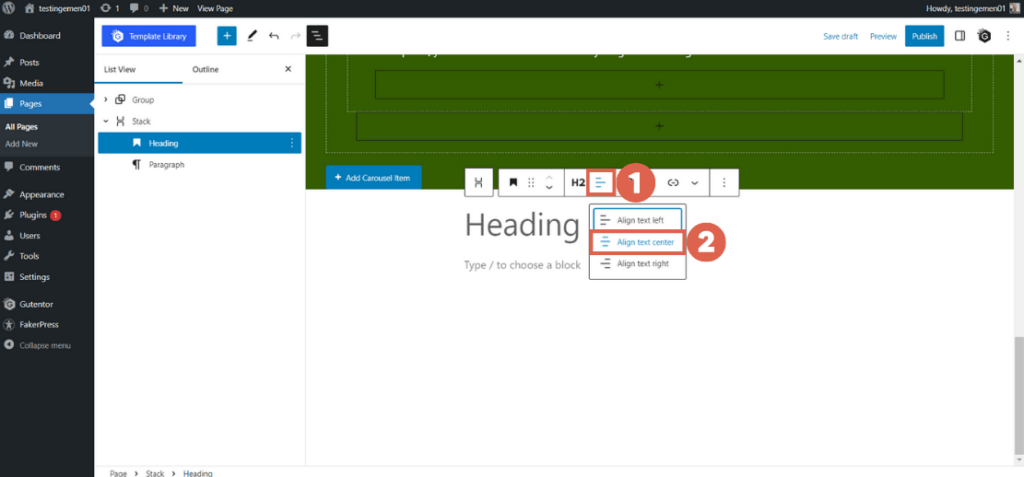
- To align both the Heading and Paragraph blocks in the center, click on the Align text center option in the toolbar menu.

With the framework for the Heading and Paragraph in place, you can now proceed to fill in the actual content. If you are unsure about the specific content, you can use Lorem Ipsum text as a placeholder.
Advertisements
Step 2: Setting up the Structure for the Client Logos
Moving on, we will now create a structure to accommodate the client logos in the section. To achieve this, we will make use of the Row and Image blocks. Here are the step-by-step instructions:
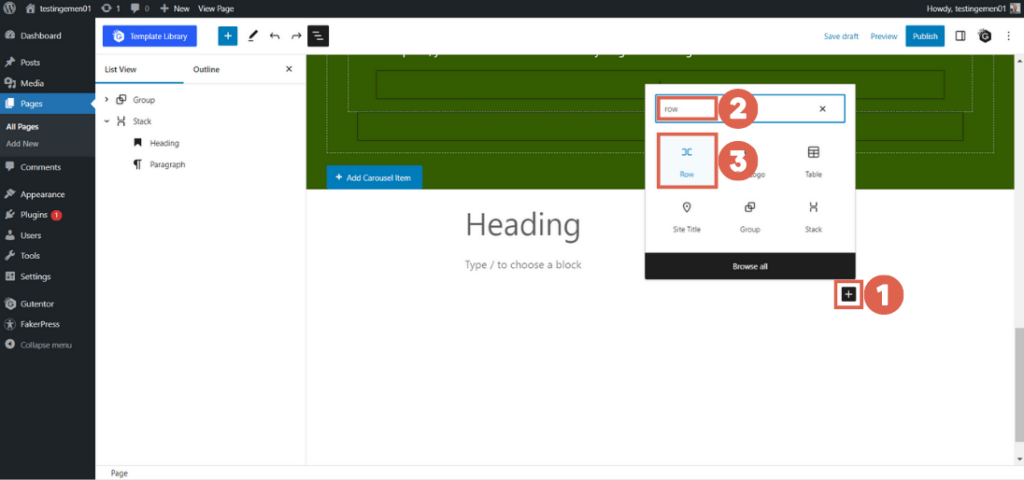
- Click below the paragraph in the List View and then click [+] to add a new block > type row in the Search Box and select the Row block. The Row block allows us to place blocks horizontally in a row.

- Click [+] again > choose the Image block from the options provided.

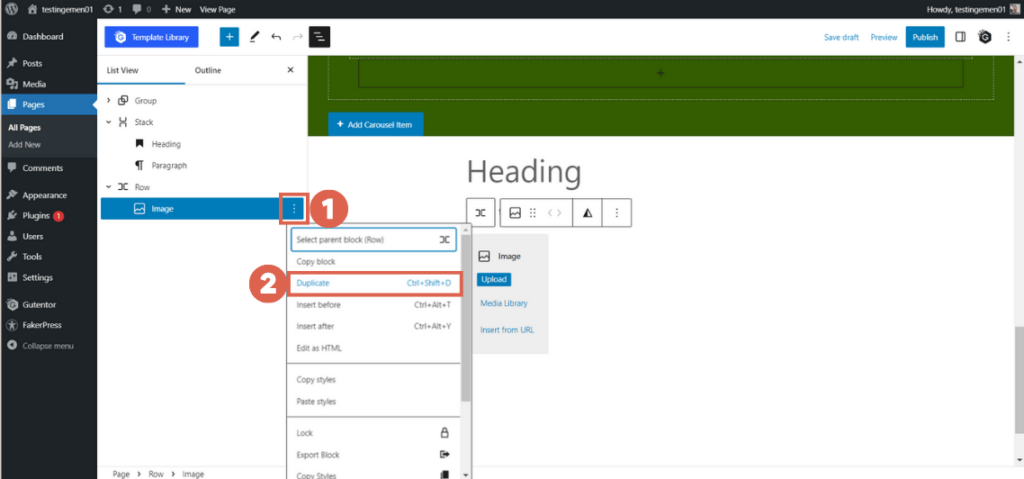
- To add multiple logos, duplicate the Image block by clicking the three dots on the Image block in the List View > then, select Duplicate. You can repeat this process as needed to accommodate the desired number of logos.

- The final result will appear as shown below:
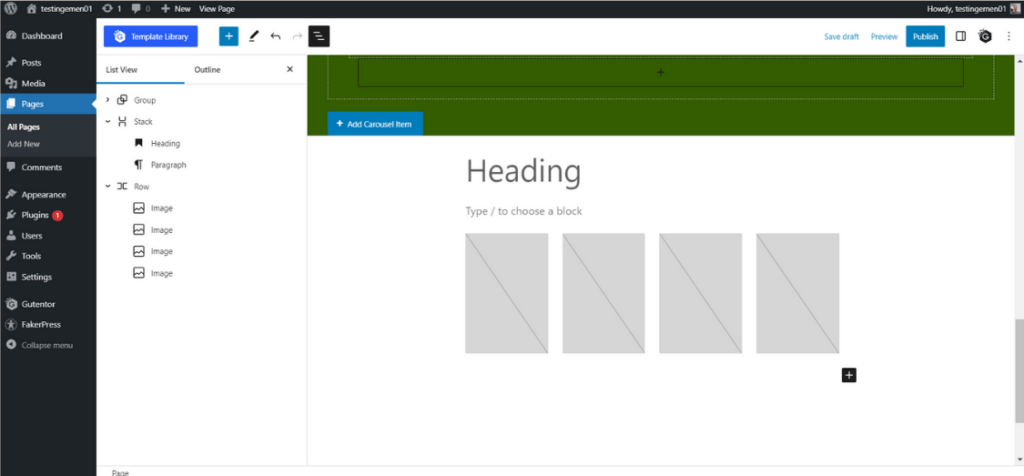
At this stage, the framework for the client logos is ready. To create space for the logo images, you can duplicate the existing Image block as many times as required. This allows you to showcase the logos of various clients or brands effectively.
Step 3: Adding Content and Client Logos
Now, we have the framework ready with placeholders for text and images. Now, it’s time to insert the actual content, including the title text, description, and client logos. Here’s how you can do it:
Baca Juga
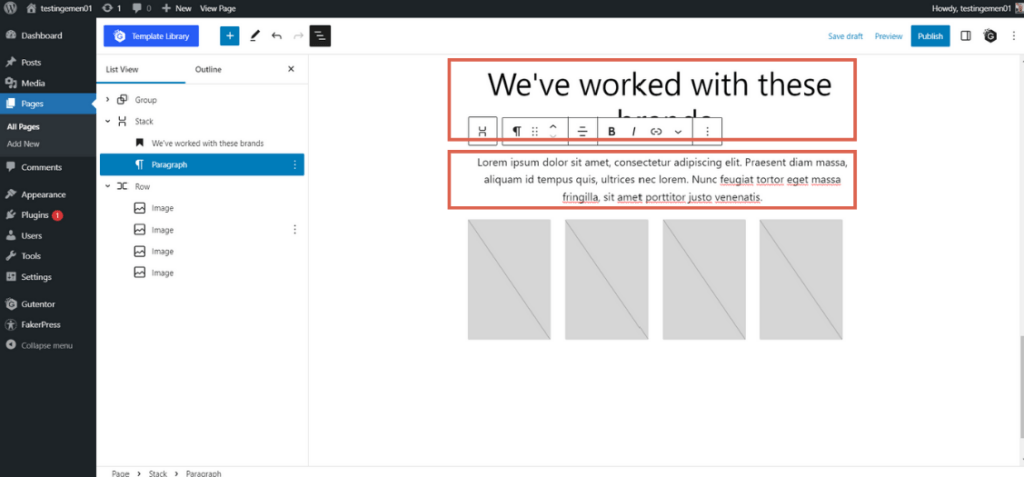
- Fill in the Heading and Paragraph text blocks with the appropriate content according to your needs. This text will provide relevant information about the clients or brands.
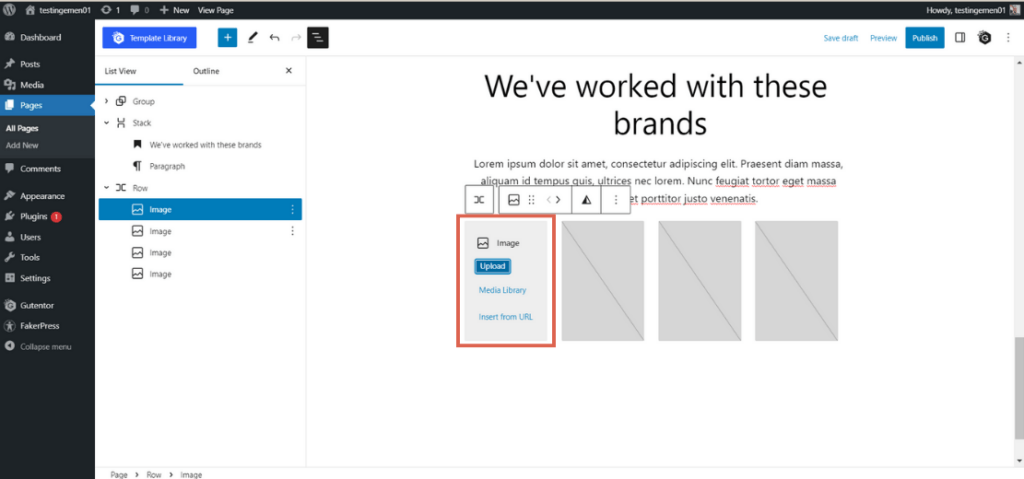
- Click on one of the Image blocks to add a client logo. You have the option to upload the logo through Upload, select from the Media Library, or insert it from a URL. In this demonstration, we will use the Upload option.
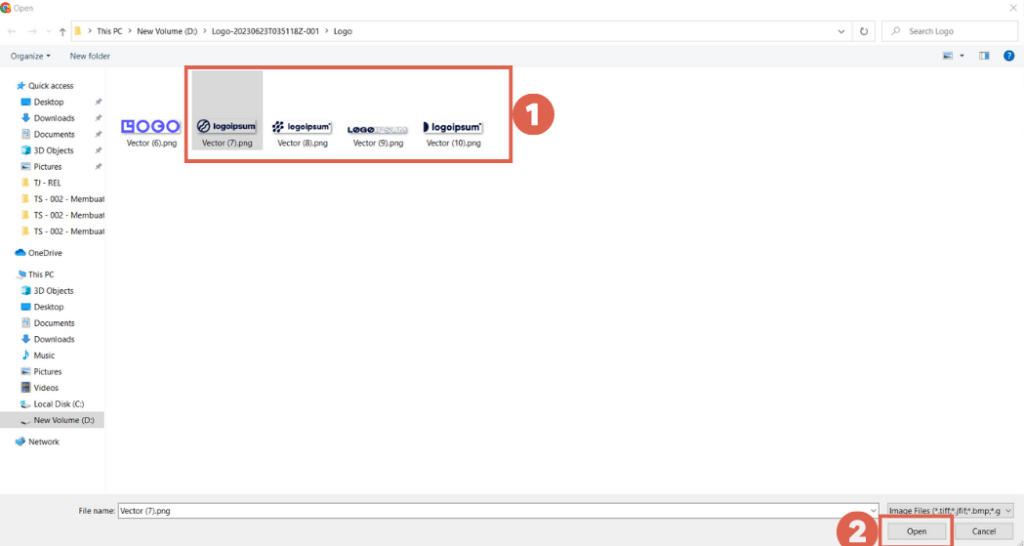
- Select the client logo you wish to insert > then click Open. For testing purposes, you can use the logo provided in our demonstration here.

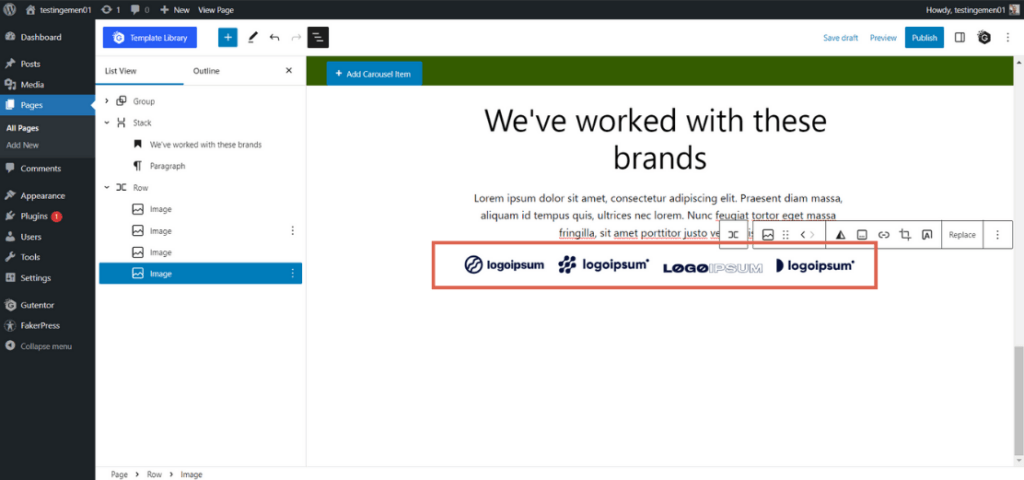
- Repeat the same process for the remaining Image blocks to add logos for other clients or brands.
The final result will appear as shown below:
By following these steps, you have successfully added the content and client logos to the section. However, the appearance may still appear basic and lack visual appeal. To enhance the overall appearance, we need to make some adjustments to the section.
Advertisements
Step 4: Adjusting the Client Logo Section
In this step, you will make necessary adjustments to the client logo section by grouping its elements, resizing them, and applying a background color. Follow these steps to complete the process:
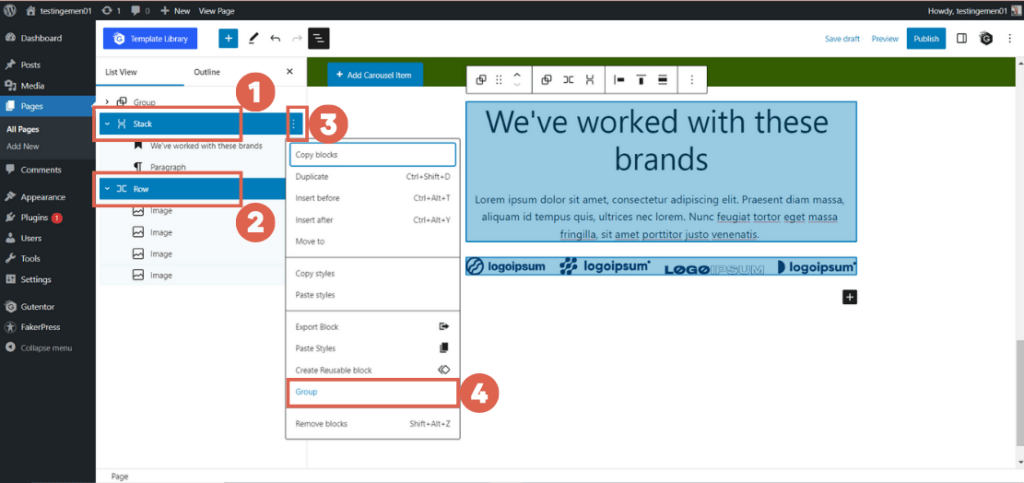
- In the List View on the left side, click on the previously created Stack and Row blocks > click on the three dots > select the Group option. Grouping the elements will make it easier to apply changes collectively.

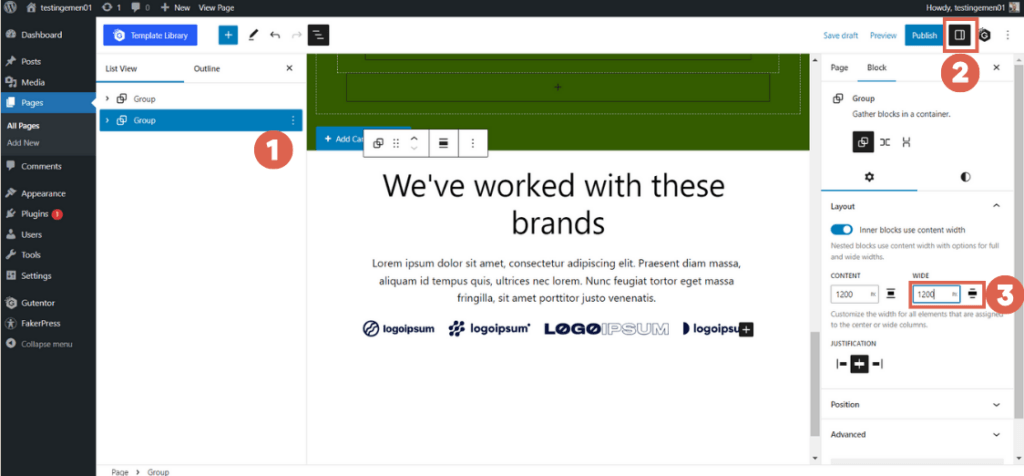
- After all the elements are grouped, click on the client logo Group section > click on the Settings option in the top right corner > set the size to Wide (with the width value of 1200). This will adjust the size of the entire client logo section.
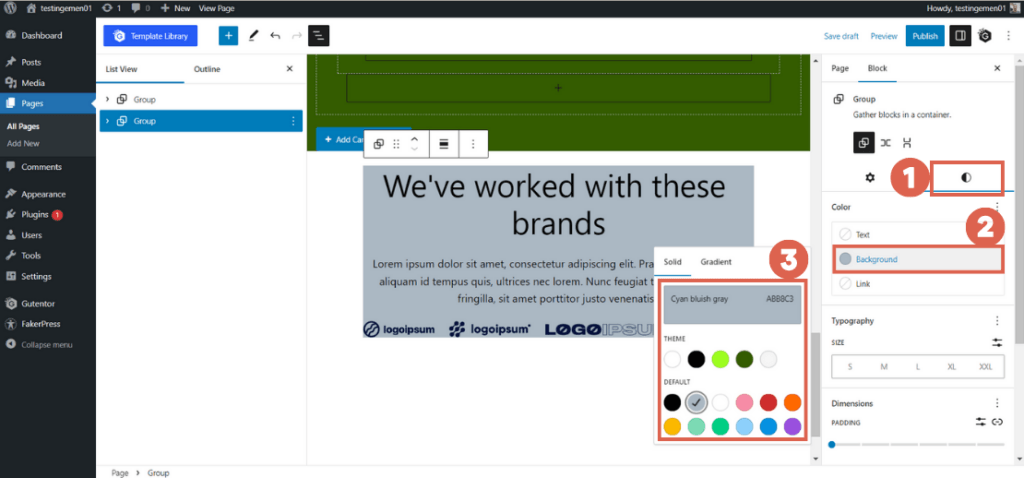
- Add a background color by clicking on the Style (black and white circle icon) > select the Background menu > choose the desired color. In this demonstration, we are using the color with the hex code ABB8C3.
- In the Dimensions section, adjust the Padding according to your preference. For this example, we are using a padding value of 1 to provide spacing around the logos.
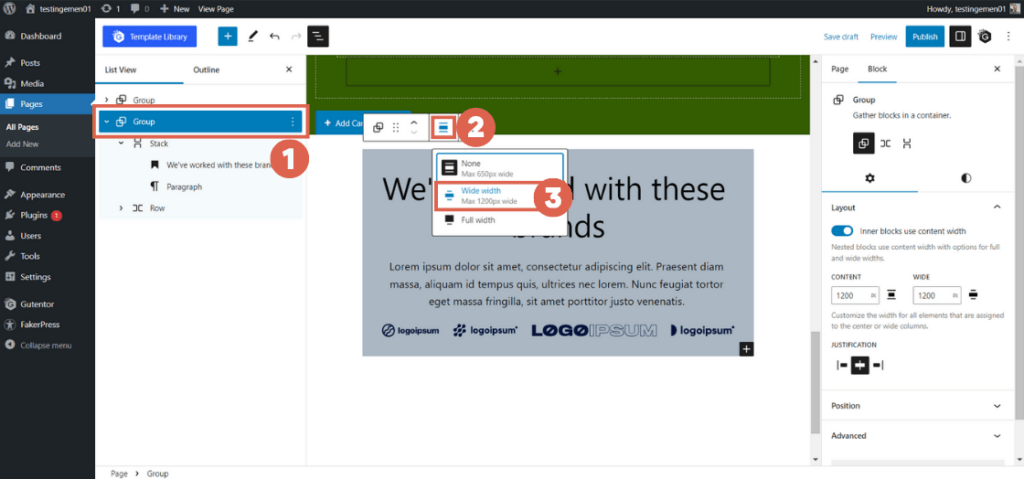
- Click on the client logo Group section again > click on the Align option in the toolbar > select the Wide width option, aligning it with the previously set size.
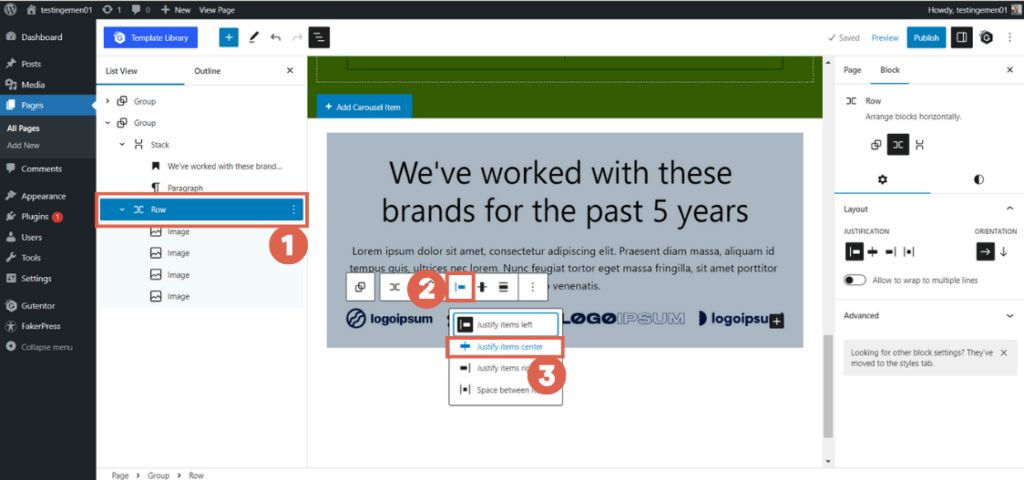
- To adjust the position of the logo, click on the Row block > click on the position settings in the toolbar > select Justify items center. This will align the logo elements at the center.
- The adjustments are complete. You can now check the final result of the client logo section by clicking on Preview.

The final result of the client logo section on the homepage is as shown below:
Final result of creating client logo section in website using WordPress Gutenberg editor.
Advertisements
Ready to Create Client Logo Section?
That concludes the tutorial on how to create a client logo section on your Home page using the Gutenberg editor in WordPress. Next, you may want to add a post section to your homepage.
Creating a website with a well-designed and functional layout requires effort and expertise. If you prefer a hassle-free experience, consider entrusting the website development to professional services like Tonjoo.
With extensive experience in developing WordPress-based websites, we have worked on projects like Hello Health Group, Hello Sehat, and Hello Doktor. Feel free to contact us through Tonjoo’s contact information if you wish to create a similar website.
Last Updated on July 18, 2024 by Tonjoostudio Team

Advertisements