Advertisements
For software developers, knowing how to create notes in Obsidian is essential for keeping documentation well-organized, especially when recording solutions to specific software development problems.
Moreover, professionals in other fields can also leverage Obsidian to organize literature and important ideas, thanks to its Graph View feature that links notes together.
So, how do you use Obsidian to create notes or documentation? What features does it offer? Here’s a complete guide and tutorial.
Advertisements
Understanding Obsidian and Its Basic Workspace
Before diving into the tutorial on creating notes, it’s important to understand this note-taking software. Obsidian is a documentation application that can connect one file to another using its Linking Notes feature.
Obsidian uses Markdown as its primary format for writing and saving notes. Markdown is a simple and lightweight markup language designed to be converted into HTML.
Markdown-based documents are easy to read in their original format and can be quickly converted to various other formats, such as HTML or PDF.
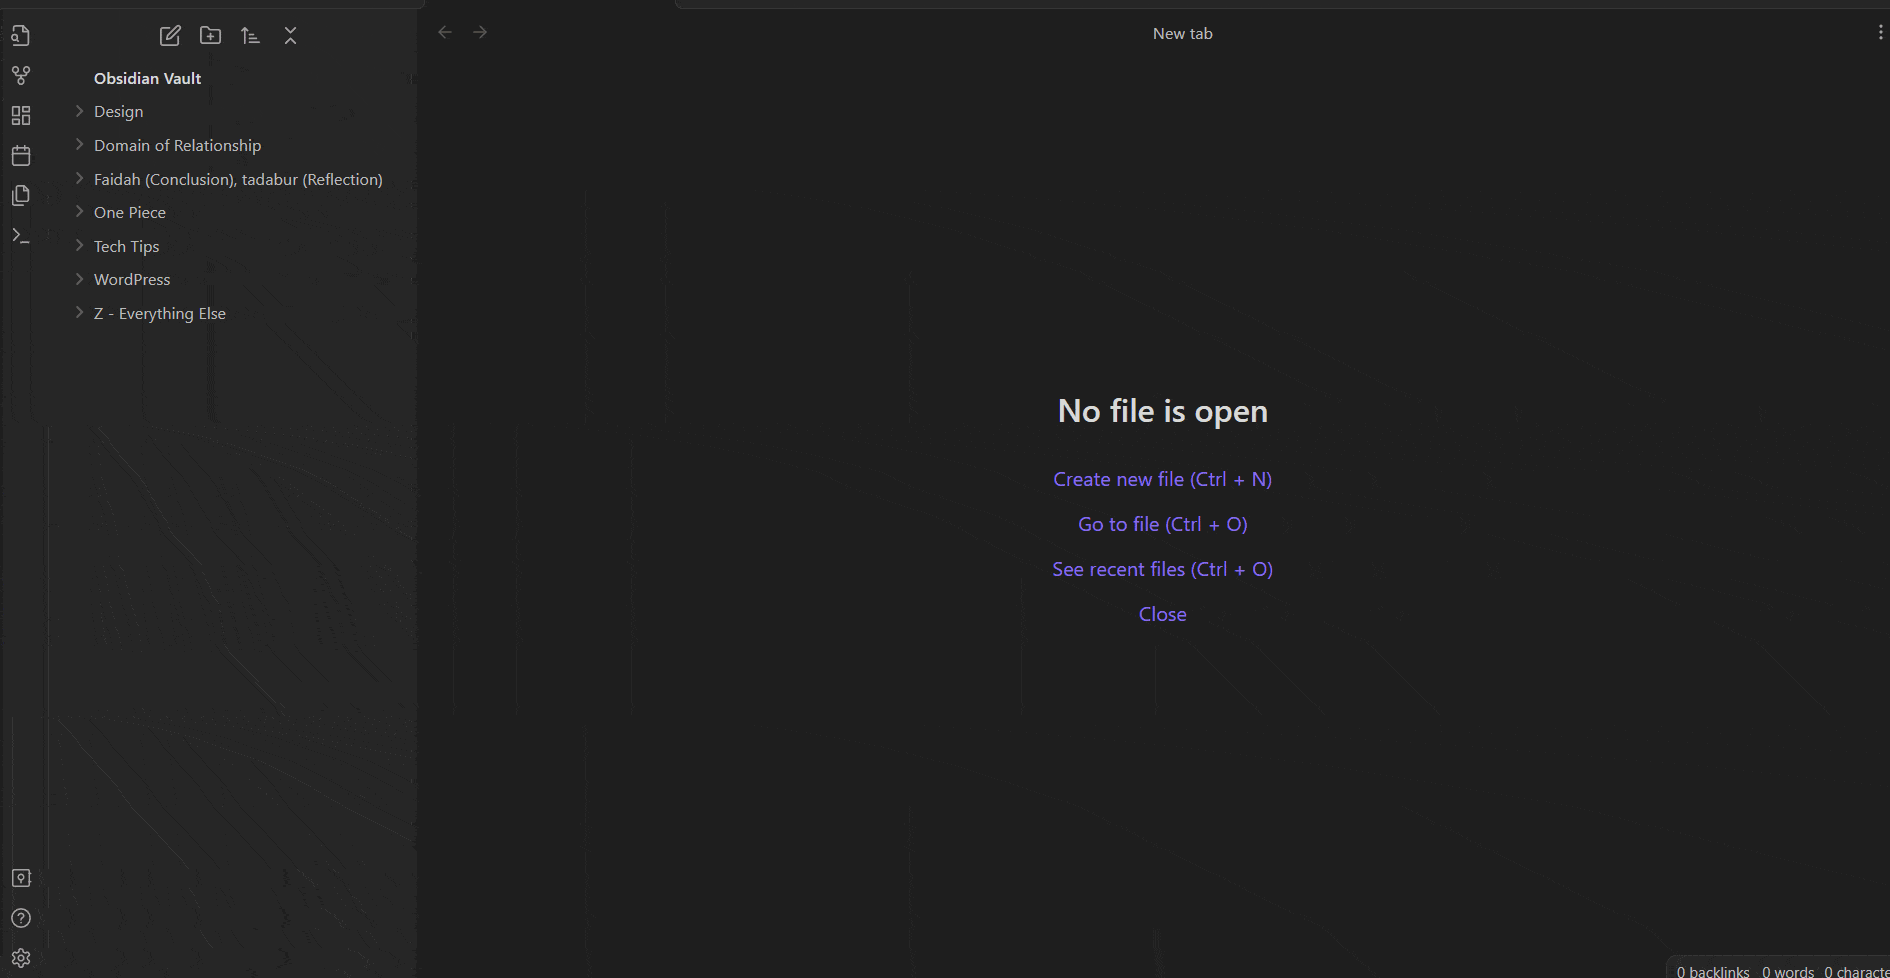
The user interface is also very simple, making it easy for new users to get started. Here are the key parts of the Obsidian workspace:
- Ribbon: This is located on the far left vertical side of the Obsidian desktop. The Ribbon is part of the sidebar but remains visible even when the sidebar is closed. The menu items on the Ribbon can be dragged and dropped to suit your needs.
- Sidebar: This side panel in Obsidian provides quick access to various features and information. It can be shown or hidden.
- Status Bar: This is located at the very bottom right corner of the Obsidian window. The status bar provides brief information about the note you are currently working on, such as word and character counts.
Those are the main components of Obsidian. To create notes, there are two main steps and one optional step you can follow. Let’s get started!
How to Create Notes in Obsidian with Markdown
Creating notes in Obsidian involves (1) installing the software and creating a Vault, (2) starting to create notes, and (3) adding images to your notes.
Advertisements
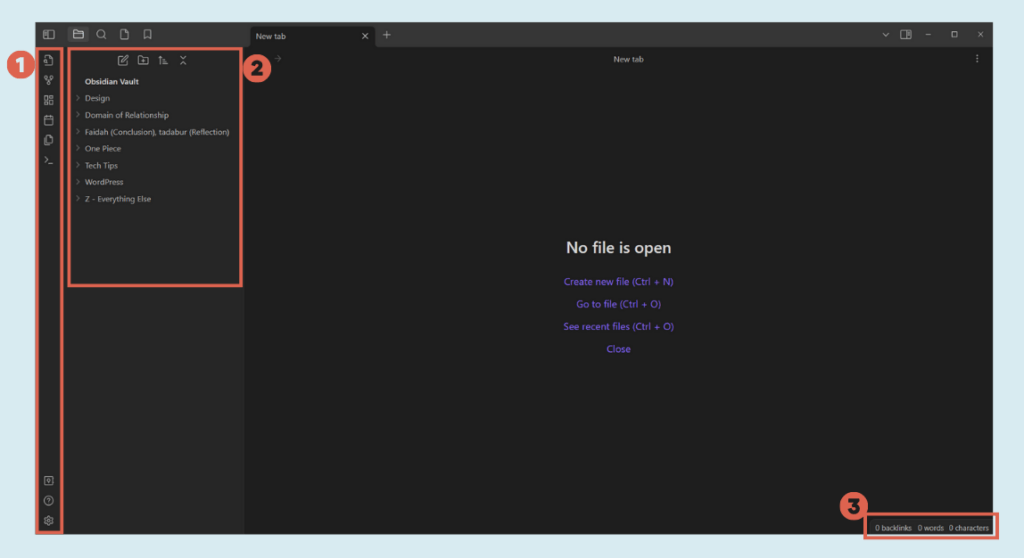
Step 1: Install Obsidian and Create a Vault
In this first step, in addition to installing Obsidian, you need to create a Vault. A Vault is a storage space for your Obsidian files, which can be on your local computer or in the cloud, like Google Drive or OneDrive.
For this tutorial, we will use local storage. Here are the steps:
- Download Obsidian for your device. Obsidian is available for Windows, Mac, iOS, Android, & Linux. Once downloaded, proceed with the installation.

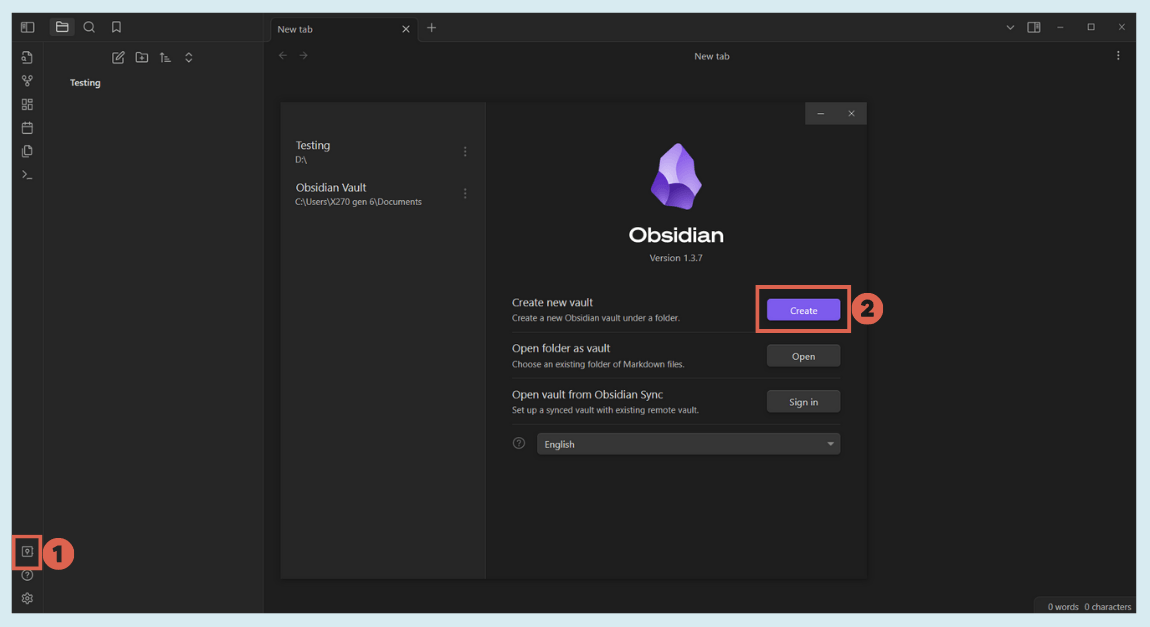
- Click Open another vault on the bottom left ribbon, then click Create.

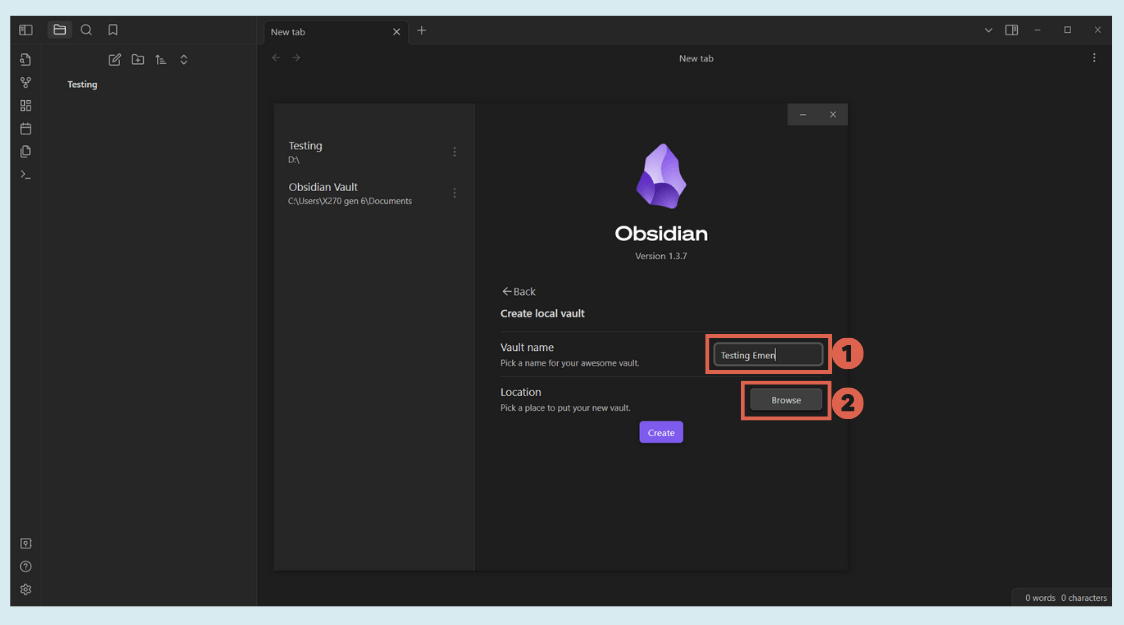
- Enter a Vault name and click Browse to choose a storage location for your Vault.

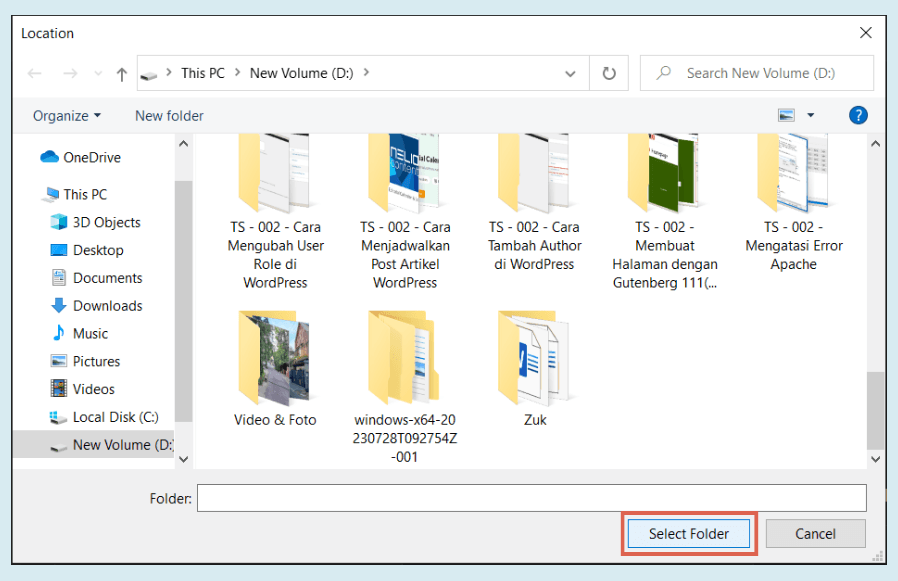
- Select the folder where you want to save the documents created with Obsidian.

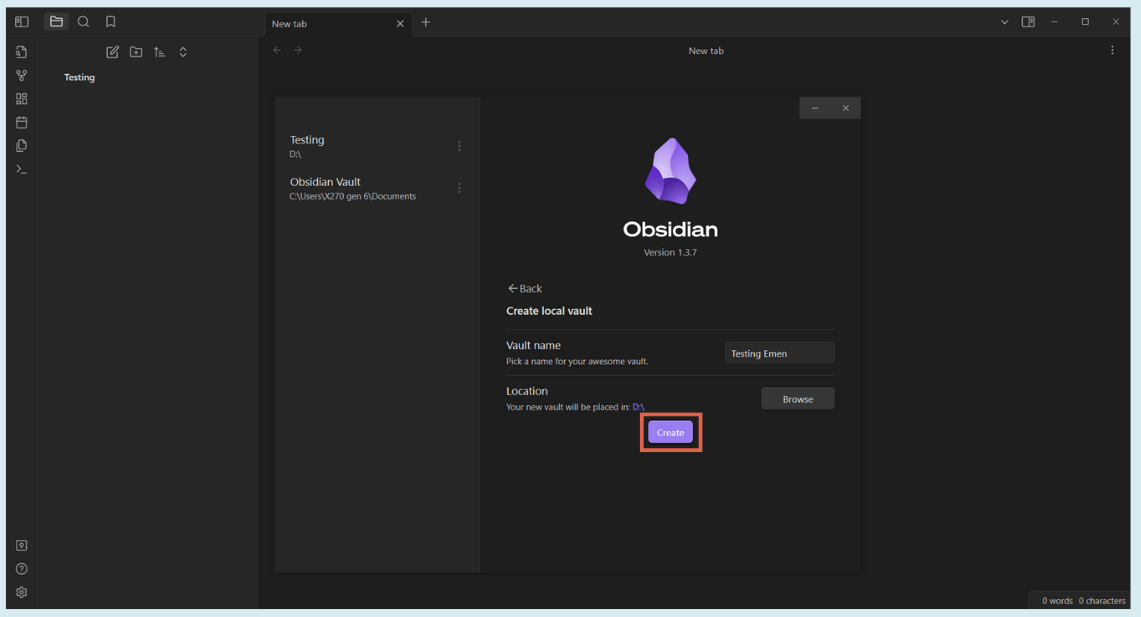
- Once done, click Create to make the Obsidian Vault.

- That’s it. At this point, you have successfully created a Vault.
Step 2: Create a Note in Obsidian with Markdown
In the second step, you can start creating notes in Obsidian. Here, you can explore text styling using Markdown syntax.
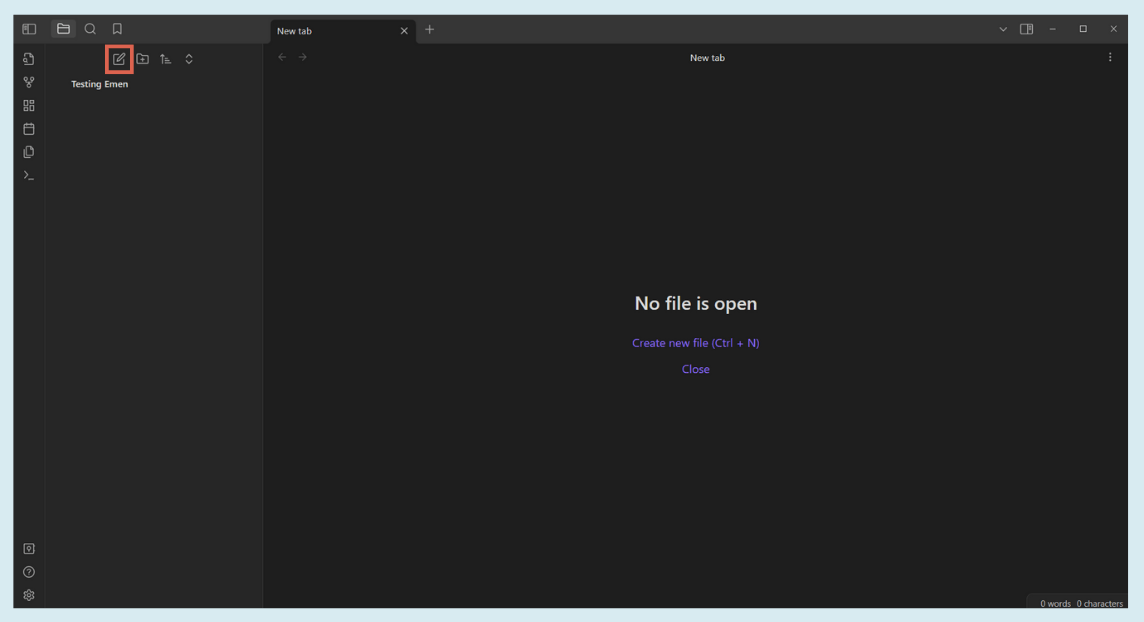
- Click New note.

- Give your file a title. Here, we’ve titled it Obsidian Testing. Then, enter the text for the document you want to save.

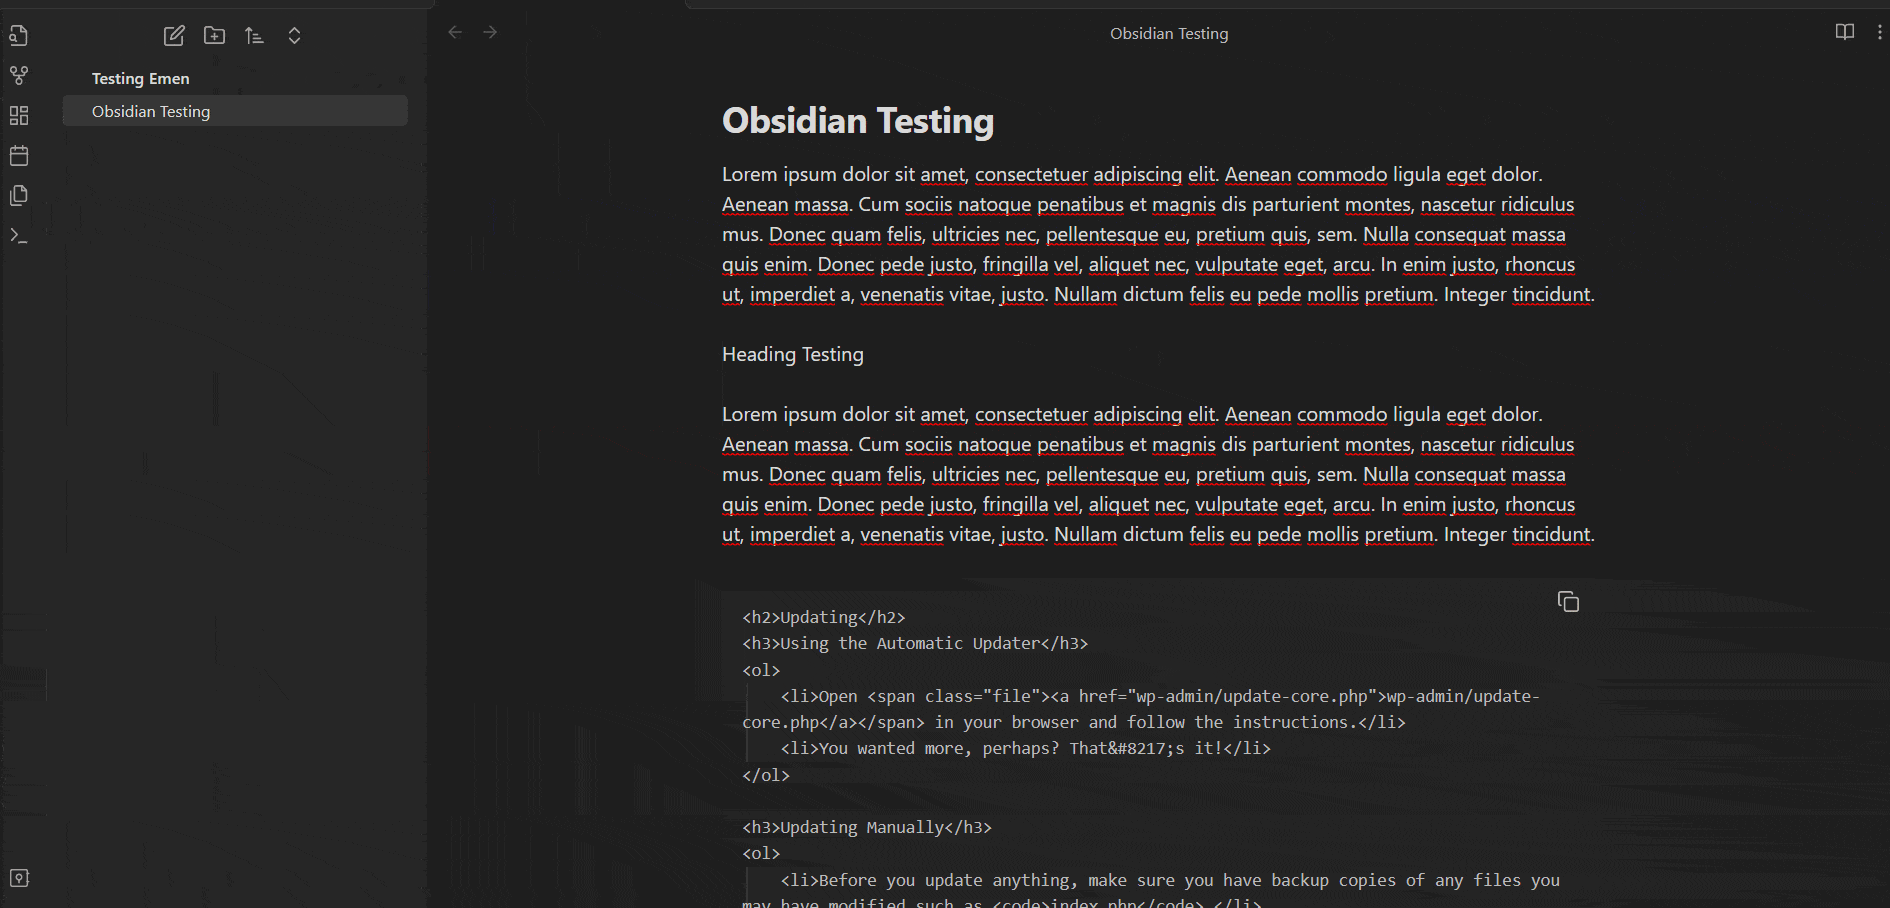
- To create a heading, add # + space before the heading text. The number of # symbols determines the heading level. For example, a single # creates an H1, ## creates an H2, ### creates an H3, and so on.

- To add code text, you can use backtick syntax (“`) at the beginning and end of the code.
- If you want to explore more text styling, please refer to the List of Markdown Syntax in Obsidian section below.
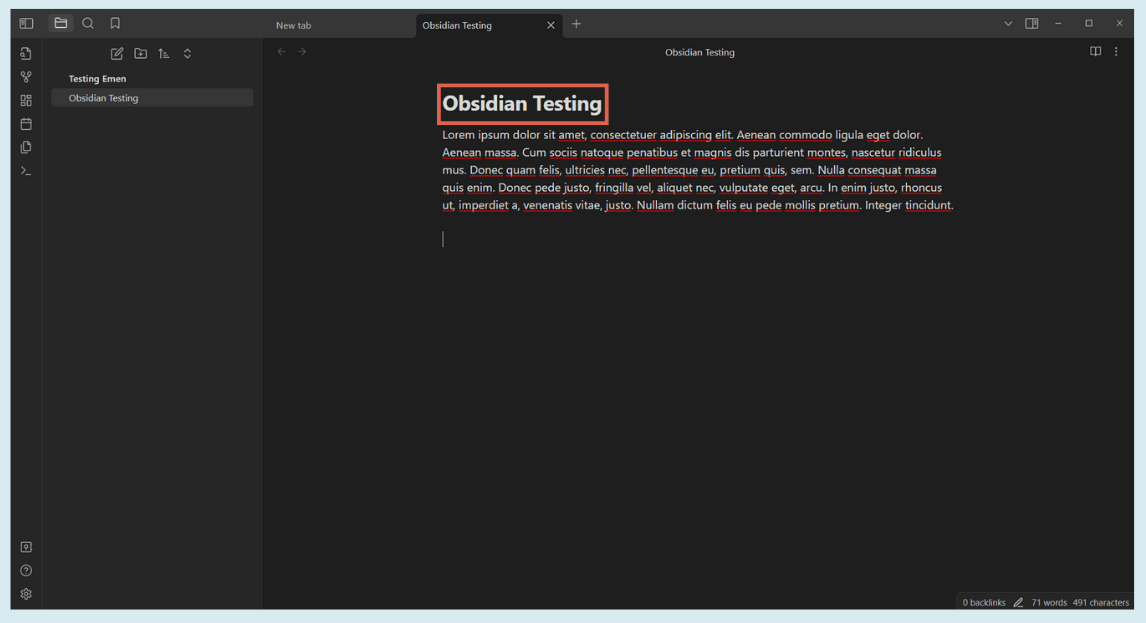

Here is an example of a completed note created using Obsidian.
Advertisements
Step 3: Add Images in Obsidian
If you want to add images to your notes, you can do it directly. However, using a plugin helps keep your storage organized and tidy.
Therefore, you need to install an additional plugin in Obsidian, namely the Imgur plugin. Here’s how to add the plugin and insert an image into your note:
- Click Settings on the bottom left ribbon. Alternatively, press Ctrl + P, type Open settings in the search box, and select that option.
- Select the Community plugins menu > click Browse.
- In the plugin search box, type imgur > select the Imgur Plugin option.
- Then click Install > click Enable.
- Once enabled, to insert an image into your note file, simply copy and paste the image into the document > choose Always upload or Upload.
- Done! You have successfully placed an image in your Obsidian document.
Advertisements
List of Markdown Syntax in Obsidian
Understanding Markdown syntax will be very helpful for creating notes in Obsidian, as it allows you to style your text easily. Here are some important Markdown syntaxes you will likely use frequently:
Advertisements
1. Heading
As explained earlier, to create a heading in Obsidian, you just need to add # and a space at the beginning of the text. Here’s an example:
## Heading 2
### Heading 3
#### Heading 4
##### Heading 5
###### Heading 6
Also Read:
The Markdown syntax above will produce the following HTML syntax:
<h2>Heading 2</h2>
<h3>Heading 3</h3>
<h4>Heading 4</h4>
<h5>Heading 5</h5>
<h6>Heading 6</h6>
2. Italic
To make text italic, use * or _ at the beginning and end of the word/sentence. For example:
*This is an example of italic text styling*
or
_This is an example of italic text styling_
3. Bold
To make text bold, use ** or __ at the beginning and end of the word/sentence. For example:
**This is an example of bold text styling**
or
__This is an example of italic text styling__
4. List
Lists can be created using a hyphen (-) or numbers (1., 2., 3., …).
– This is an example of list text styling
or
1. This is an example of list text styling
5. Strikethrough
To create strikethrough text, use ~~ at the beginning and end of the word/sentence. For example:
~~This is an example of strikethrough text styling~~
6. Highlight
To highlight text, use == at the beginning and end of the word/sentence. For example:
==This is an example of highlighted text styling==
7. Inline Code
To create code text within the same line as non-code text, use ` at the beginning and end of the code snippet. For example:
`This is an example of inline code text styling`
8. Code Blocks
To create a block of code, use “` (three backticks) at the beginning and end of the code block. For example:
“`
This is an example of code block text styling
“`
You can see more Markdown syntax that can be used in Obsidian at the following links:
Ready to Start Taking Notes with Obsidian?
That concludes our tutorial on how to create notes with Obsidian. You can also save these notes in the cloud, such as on Google Drive or OneDrive.
If you have any opinions, feedback, constructive criticism, or suggestions, feel free to share them.

For more articles on WordPress, WooCommerce, and web development, check out Tonjoo Studio Blog by Moch. Nasikhun Amin.

Advertisements