Advertisements
While countless ready-to-use WordPress themes are available, both free and paid, there are times when you need to create a custom theme from scratch is the better choice.
This guide will walk you through creating a WordPress theme on a local development environment (localhost), so you won’t need to purchase hosting to get started.
So, how do you build a WordPress theme from the ground up? It all starts with two essential files: style.css and index.php. Let’s dive into the details.
Advertisements
Benefits of Creating Your Own WordPress Theme
Creating your own WordPress theme offers several key advantages, with speed and security being two of the most significant.
In terms of speed, a custom-built theme is inherently lighter because it only includes the functions and libraries you actually need. In contrast, many off-the-shelf themes, both free and premium, are often bloated with features you’ll never use.
From a security standpoint, a custom theme is generally safer because its source code isn’t public. This makes it much more difficult for malicious actors to reverse-engineer the theme and find security vulnerabilities.
From my experience, it’s best to start theme development with a completed design. This gives you a clear blueprint to follow.
Once the design is finalized, you can either convert it into a static HTML version first or implement it directly into the WordPress theme. The best approach depends on the developer’s skill level.
To simplify this tutorial, we will base our theme on the “Dev-Blog” template by Xriley. In other words, we’ll be creating a WordPress theme that mimics this template’s design.
Prerequisites for Creating a WordPress Theme
Before you begin creating your WordPress theme offline, you’ll need to prepare the following:
- A clean WordPress installation on a local server. We recommend a couple of local server software options: WampServer, XAMPP, or LocalWP. WampServer is for Windows, while XAMPP and LocalWP are available for Windows, Linux, and macOS. Read our guides on how to install WordPress on WampServer, how to install WordPress on XAMPP, or how to install WordPress on LocalWP. This tutorial will use XAMPP.
- Git installed on your system.
- A text editor. We recommend Sublime Text or Visual Studio Code. This tutorial will use Visual Studio Code (VS Code).
- Ensure VS Code and Git are running correctly. You can run Git commands through the integrated terminal in VS Code.
If you’re all set, let’s proceed to the next steps, starting with cloning the starter theme, then creating our basic CSS and PHP files.
Advertisements
Step 1: Cloning the WordPress Theme
To make it easier to build a WordPress theme from scratch, we’ll start by cloning Tonjoo’s WordPress Theme from Scratch repository. If you’re already familiar with cloning a repository, you can use the following commands in your Text Editor’s terminal.
cd wp-content/theme git clone https://github.com/tonjoo/WordPress-theme-from-scratch.git cd themes/WordPress-theme-from-scratch git log --oneline
If you are new to this process, follow these detailed steps:
- Make sure you have WordPress installed on your local XAMPP server.
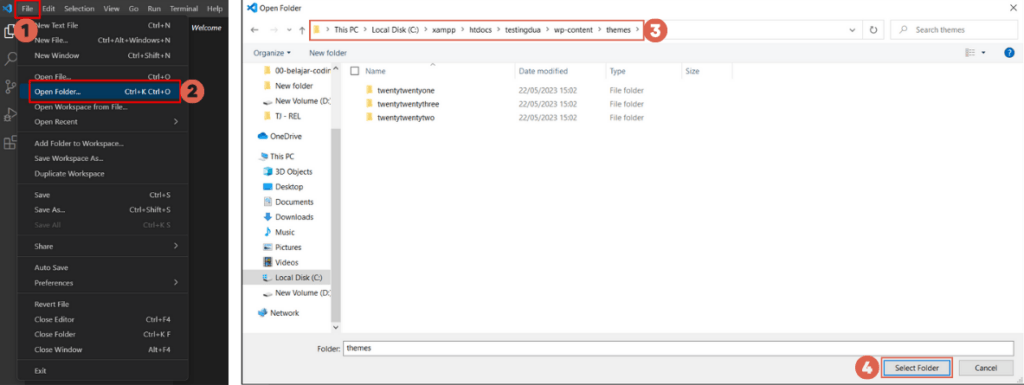
- Open VS Code > click File > click Open Folder.

Open the WordPress themes folder through Visual Studio Code (VS Code)
- Navigate to Local Disk (C:) > xampp > htdocs > your WordPress folder (we named ours belajarwp) > wp-content > themes. Then click Select Folder.
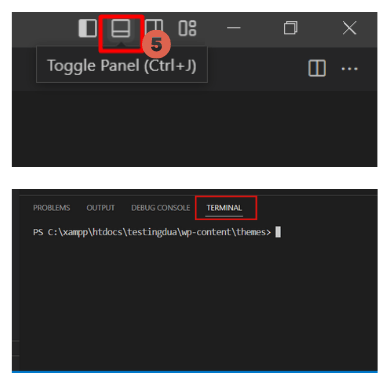
- Open the Terminal by clicking the Toggle Panel icon in the upper right, the second icon from the left.

Opening the Terminal in VS Code
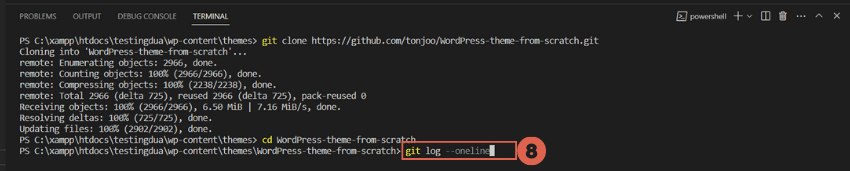
- Type the command git clone followed by the URL: https://github.com/tonjoo/WordPress-theme-from-scratch.git, then press Enter. Wait for the cloning process to complete. Cloning is the process of copying the source code, which we will then modify.

Cloning the theme with a git command
- Navigate into the cloned folder by typing the command
cd WordPress-theme-from-scratchand pressing Enter.
Entering the cloned folder
- View the list of commits by typing
git log --onelineand pressing Enter.
Viewing the list of commits


The commits in the repository have been structured to align with the steps in this tutorial series. After pressing Enter, a list of commits will appear like this:
60de019 (HEAD -> master, origin/master, origin/HEAD) Part 3, Step 2 156feb4 Part 3, Step 1 8efec1e Part 2, Step 2 : widget a23df50 Part 2, Step 1 : daftarkan menu di functions.php c6d005a Step 5 : Single.php 19c2493 Step 4 : Membuat Excerpt otomatis di functions.php 007c73f Step 3 : Query Loop fbde939 Step 2 : functions.php bf92316 Step 1 : Base Theme be0edf4 init commit
To begin creating our WordPress theme from the very start, we need to check out the initial commit, which is be0edf4. Copy and paste the command below into your terminal:
git checkout be0edf4
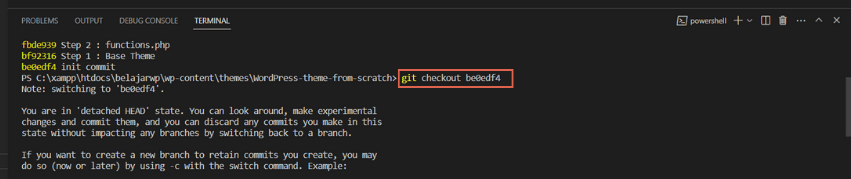
How to check out the be0edf4 commit
After checkingout, you’ll have a folder containing the HTML version of the theme we are about to build.
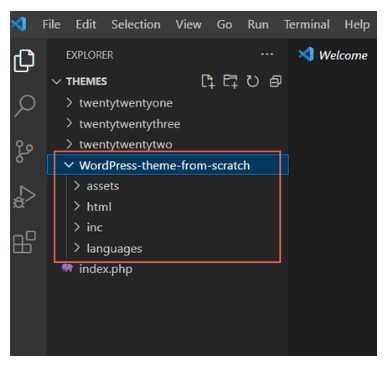
Result of the checkout
With only a folder and no files inside the theme directory, will the theme appear in WordPress? Of course not. When you check your WordPress dashboard under Appearance > Themes, you’ll see an error message for a broken theme.
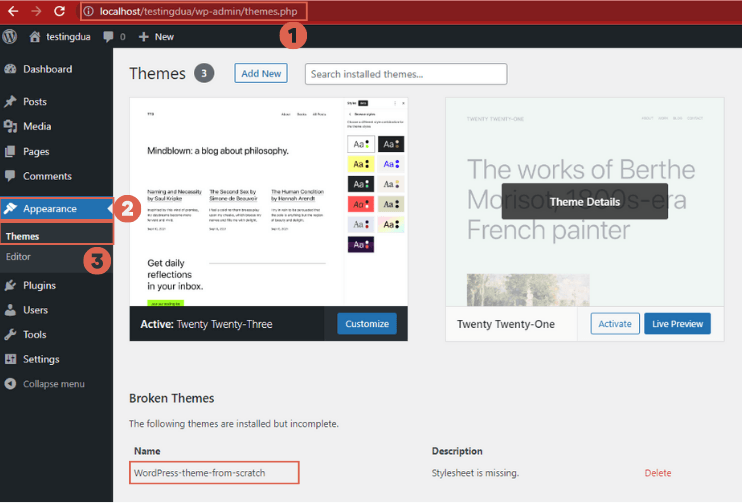
The theme appears broken in WordPress without the necessary CSS and PHP files
Step 2: Creating the style.css and index.php Files
For a theme to be recognized by WordPress, it must contain at least a style.css and an index.php file. Here’s how to create them to make our template appear correctly.
Also Read:
Advertisements
a. Creating a Simple style.css File
We’ll start by creating the style.css file:
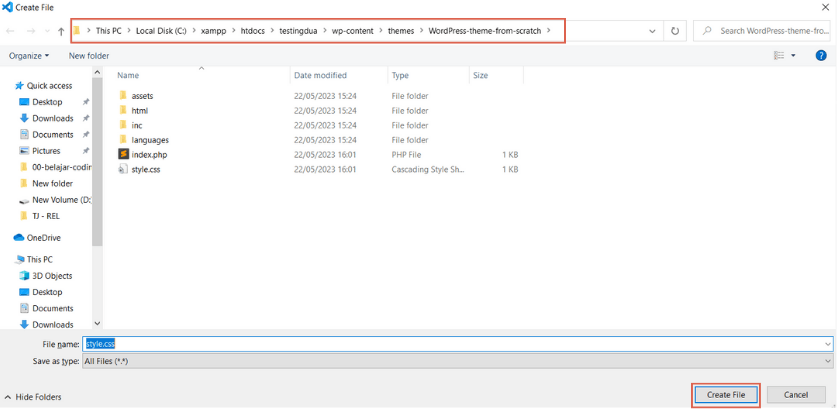
- In VS Code, click File > New File. Name the file style.css and press Enter.

Creating a new CSS file in VS Code
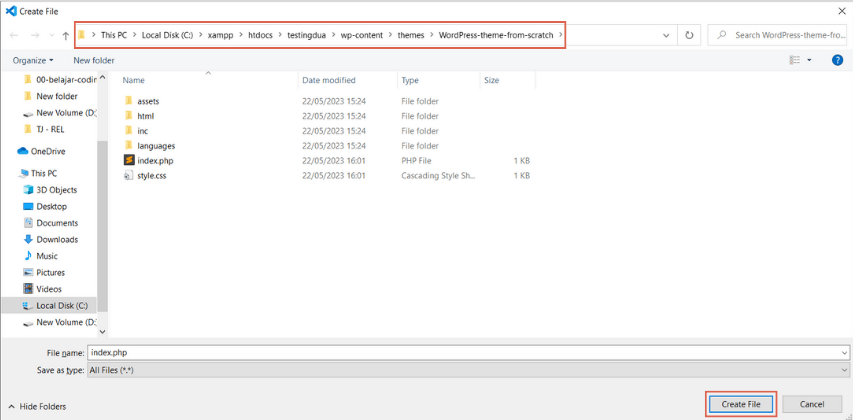
- Save the file in the cloned theme’s folder: C:\xampp\htdocs\(your_wp_folder)\wp-content\themes\WordPress-theme-from-scratch.

Save the CSS file in the cloned folder location
- Fill the file with the required theme attributes seen in the example below. You can copy and paste this into your empty style.css file, then Save (Ctrl + S).

Creating the style.css file

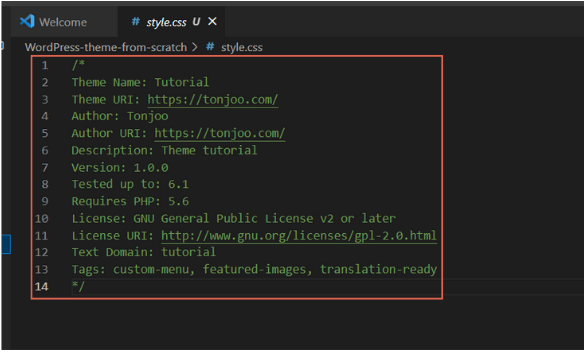
Here is the CSS code you can copy:
/* Theme Name: Tutorial Theme URI: https://tonjoo.com/ Author: Tonjoo Author URI: https://tonjoo.com/ Description: Theme tutorial Version: 1.0.0 Tested up to: 6.1 Requires PHP: 5.6 License: GNU General Public License v2 or later License URI: http://www.gnu.org/licenses/gpl-2.0.html Text Domain: tutorial Tags: custom-menu, featured-images, translation-ready */
Theme: The name of your theme.Theme URI: The theme’s URL.Author: The name of the theme creator or developer.Author URI: The developer’s website address.Version: The theme’s version number.Description: A brief description of the theme.
This information in style.css, known as the theme header, provides WordPress with metadata about your theme. To learn about other attributes you can add, you can check the official documentation.
Advertisements
b. Creating a Simple index.php File
Next, let’s create the index.php file:
- In VS Code, click File > New File. Name it index.php and press Enter.

Creating the index.php file
- Save the index.php file in the same location as style.css.

Save the index.php file in the cloned folder location
- Add the code below to the empty index.php file and then Save. Add this code to the index.php file

Here is the PHP code you can copy

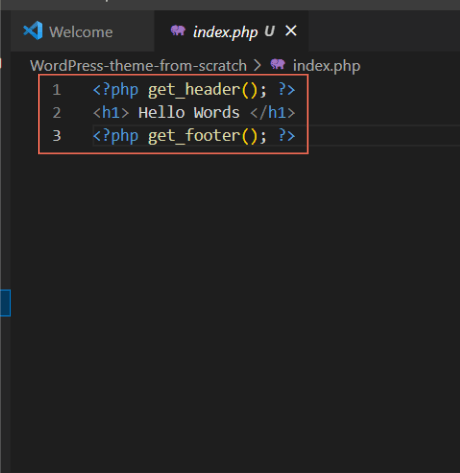
Here is the PHP code you can copy:
<?php get_header(); ?> <h1> Hello Words </h1> <?php get_footer(); ?>
WordPress uses a template hierarchy system to render pages. index.php serves as the fallback template. If WordPress can’t find a more specific template for a given page, it will use index.php by default.
This is why every WordPress theme must have, at a minimum, an index.php file. In this example, our index.php file simply displays the text “Hello Words” along with the standard WordPress header and footer.
Advertisements
Step 3: Activating the Theme
At this point, you’ve successfully created a basic WordPress theme, although it’s still functionally empty. To see the results of our first step, follow these instructions:
- Open your local WordPress dashboard.
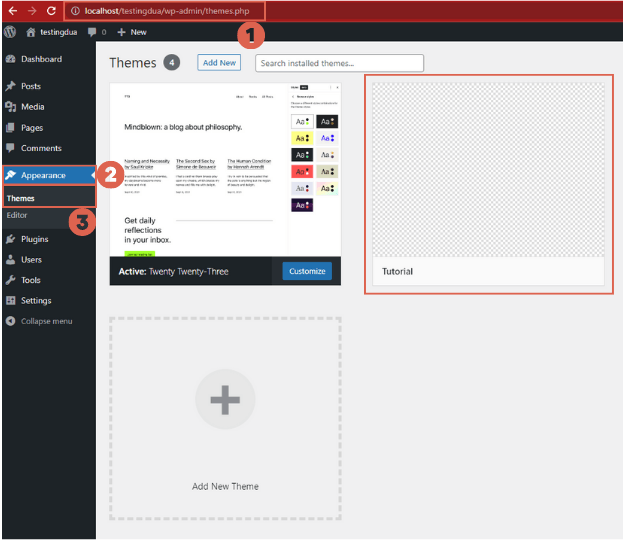
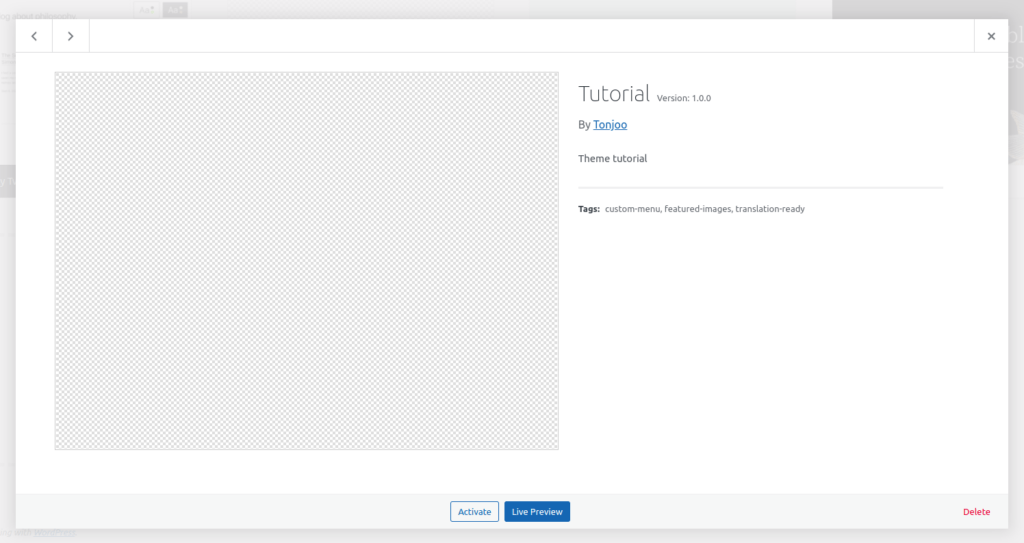
- Navigate to Appearance > Themes. The theme we named “Tutorial” is now installed, complete with the attributes we defined in style.css.

Viewing the newly created theme.
- Next, click the Activate button to make the theme live.

Activating the newly created theme
To see the result of your work, visit your website’s homepage. The text “Hello words” will be displayed as follows:
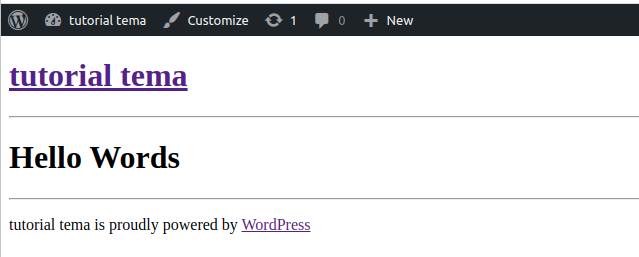
The activated theme displays the ‘Hello words’ text on the front end
You can also create and publish a new post. If you view that post on the front end, it will still display the “Hello Words” text, as it’s falling back to the index.php template according to the WordPress template hierarchy.
What’s Next?
This concludes our beginner’s tutorial on creating a WordPress theme. To continue developing your theme, check out Part 2 of our series, where we’ll cover creating the functions.php, header.php, and footer.php files.
If you’d rather not deal with the complexities of website development, you can entrust your project to the Tonjoo Team. We are professional web developers with over 10 years of experience.
We’ve handled projects for everyone from government institutions to startups, including clients like Gadjah Mada University, Hipwee, and Unilever. Let’s discuss your vision for your website—contact Tonjoo, and we’ll help bring it to life!

For more articles on WordPress, WooCommerce, and web development, check out Tonjoo Studio Blog by Moch. Nasikhun Amin.
Last Updated on July 14, 2025 by Moch. Nasikhun Amin

Advertisements