Advertisements
How to install WordPress on WampServer? WampServer is a great option if you want to develop a website on your local computer without having to purchase hosting first.
However, before you can install WordPress, there are a few preparatory steps you need to take to ensure the installation process on your computer runs smoothly.
So, how do you install WordPress on a Wamp localhost? Before we dive into the process, it’s also important to understand what WampServer is and how it works. Here’s a complete explanation!
Advertisements
What is WampServer?
WampServer, or WAMP, is a software bundle that functions as a web server for website development on a local server, meaning your own computer.
In other words, you use your personal computer as the server. You also don’t need an internet connection when developing a WordPress site on a Wamp localhost.
WAMP itself is an acronym for Windows (the operating system), Apache (the web server), MySQL (the database), and PHP (the programming language). As the name suggests, Wamp is specifically designed for the Windows operating system.
If you use the Linux operating system, you can opt for the Lamp web server. Meanwhile, macOS users can utilize Mamp software.
WampServer is a very popular choice among WordPress developers. Another popular web server application is XAMPP.
If you’d like to try using the XAMPP web server, you can follow our guide on how to install WordPress on XAMPP. However, if you want to stick with Wamp, here are the installation instructions.
How to Install WordPress on WampServer
Here are the stages of installing WordPress, from downloading the WampServer and WordPress files, through the installation process, database setup, and basic configuration.
Advertisements
Step 1: Preparing the Necessary Files
Before installing WordPress, you need to download two essential files: the WampServer file and the WordPress file.
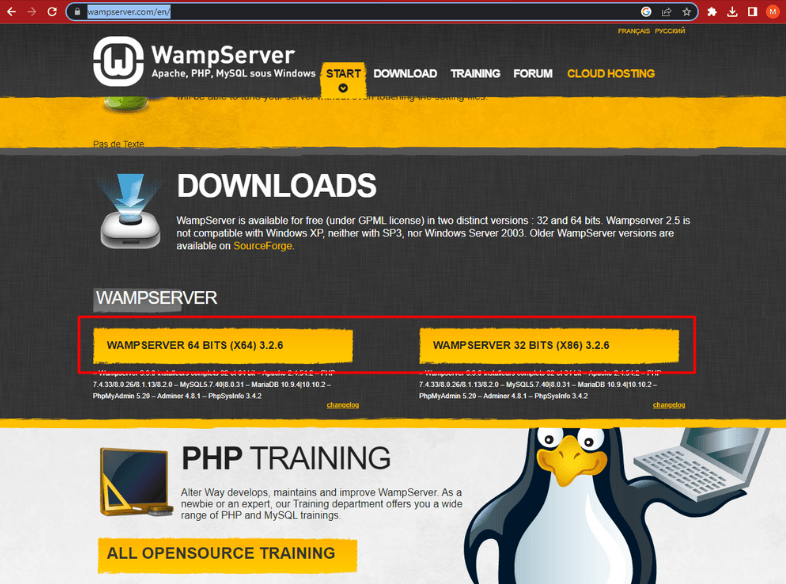
- Download WampServer.
 Make sure the file you download matches your computer or laptop’s architecture, either 32-bit or 64-bit. To check your computer’s architecture, open Control Panel > System and Security > System. Under the System type section, you can see your computer’s architecture (32-bit or 64-bit).
 - Download the WordPress file.
 The WordPress file you download will be in a .zip or .rar format.
 Make sure the file you download matches your computer or laptop’s architecture, either 32-bit or 64-bit. To check your computer’s architecture, open Control Panel > System and Security > System. Under the System type section, you can see your computer’s architecture (32-bit or 64-bit).
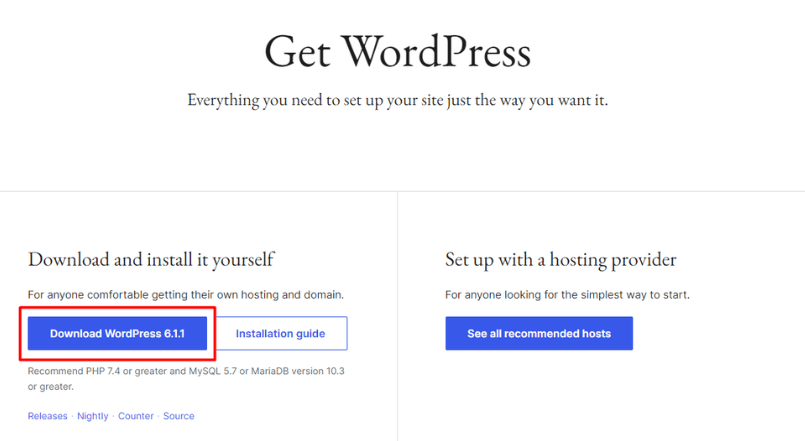 The WordPress file you download will be in a .zip or .rar format.
Step 2: Install WampServer
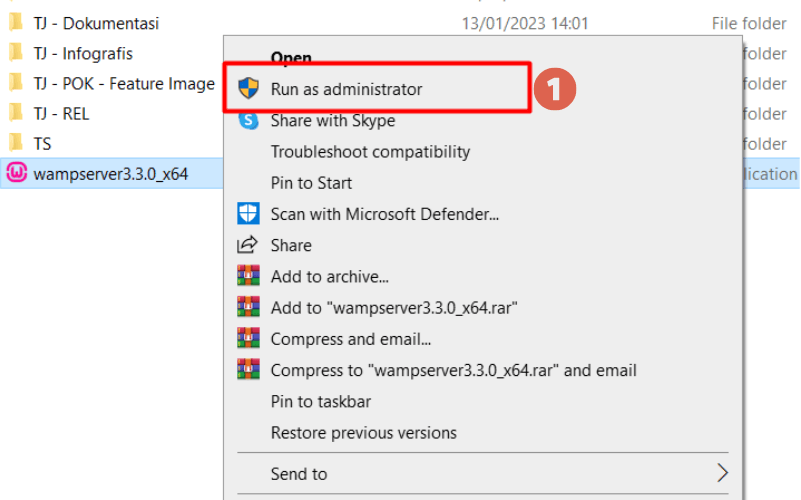
Once you have downloaded the WampServer file, follow these installation steps:
- Right-click the WampServer .EXE file and select Run as Administrator.

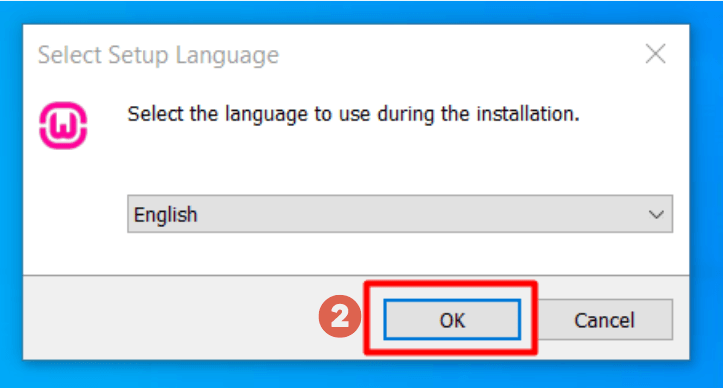
- For the language setting, English is selected by default. Click Ok.

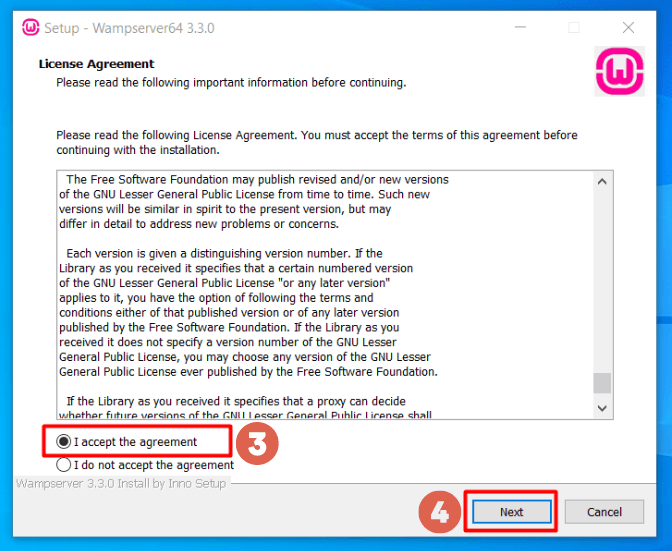
- On the License Agreement screen, select the I accept the agreement option, then click Next.


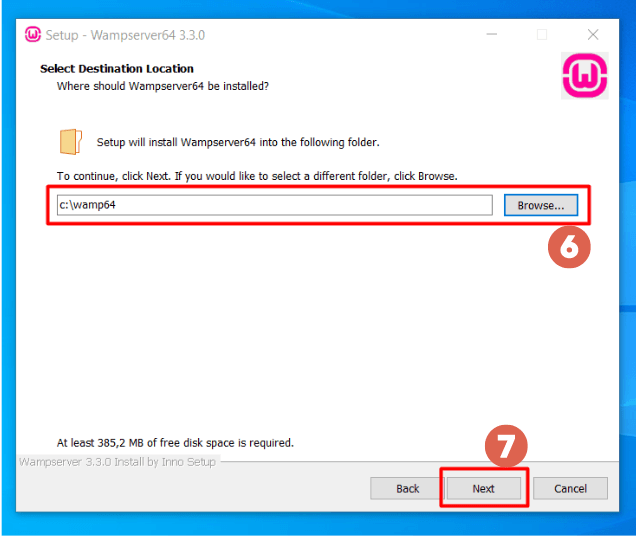
- When choosing the Destination Location, the WampServer files will automatically be placed in the C: drive in a folder named wamp64 or wamp32, depending on the version you downloaded. Then, click Next.

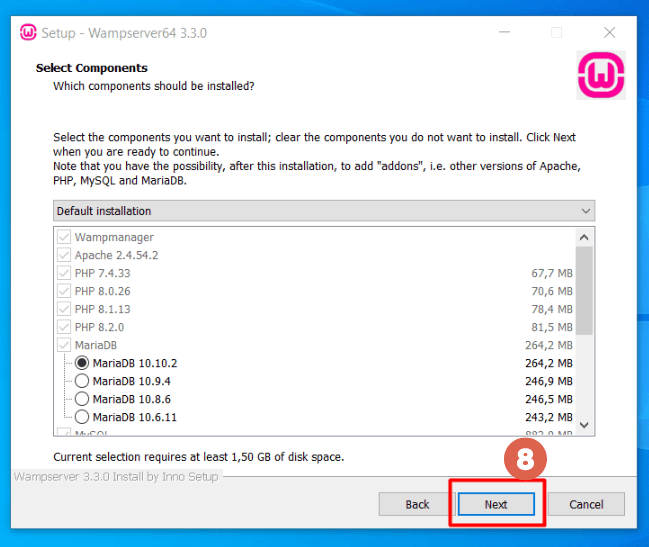
- In the Select Components section, you don’t need to change anything. Just click Next.

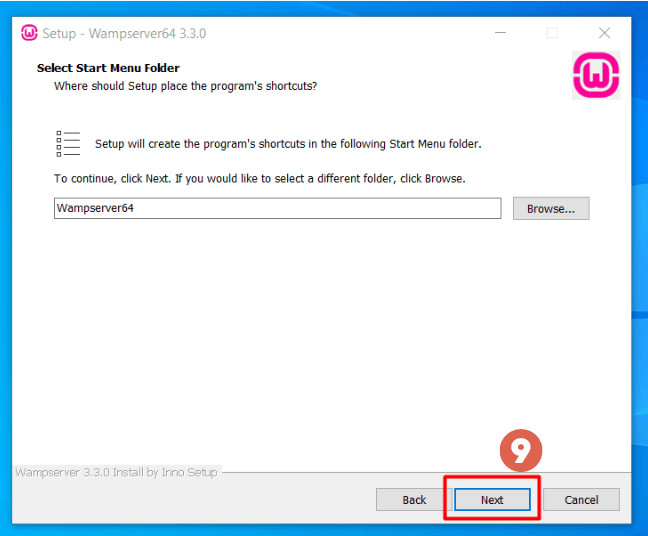
- In the Select Start Menu Folder section, click Next.

- When you’re ready to install, click Install. If you want to change any previous settings, you can click Back.

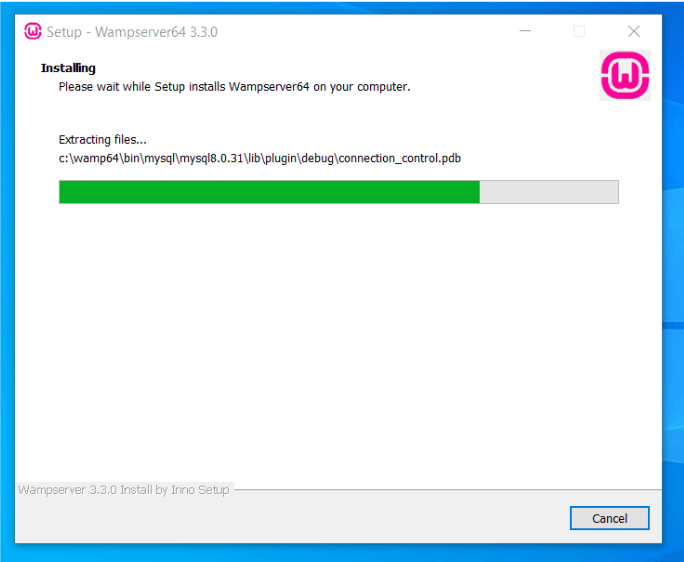
- Once you start the installation, wait for the process to complete.

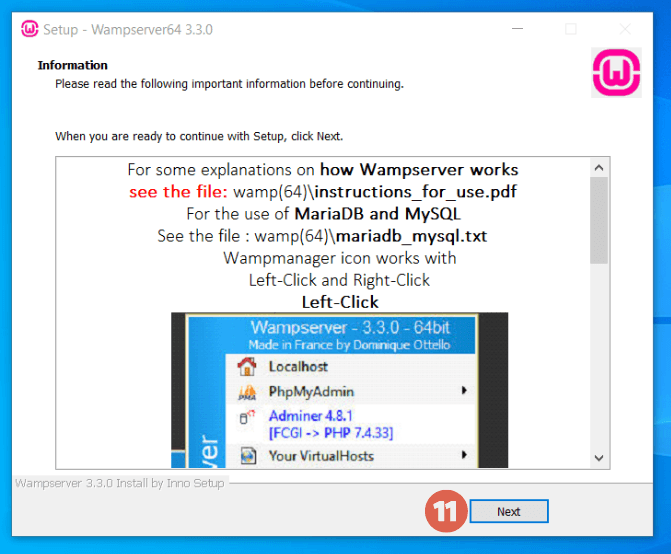
- In the Information section, click Next.

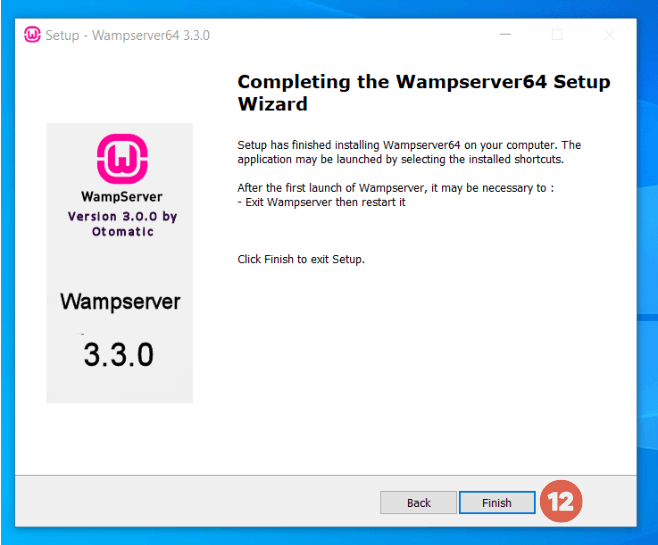
- The following window will appear. Click Finish.


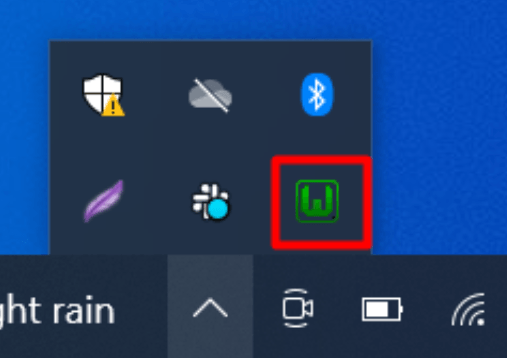
To check if your WampServer installation was successful, look at the system tray near the Taskbar at the bottom right of your desktop.
If a green Wamp icon appears, it means your WampServer installation was successful.
Also Read:
If the Wamp icon is red, it means WampServer is offline. You need to activate it by clicking the icon and selecting Start All Services.
If the Wamp icon is orange, it means only some of the services are running. You may need to troubleshoot the issue.
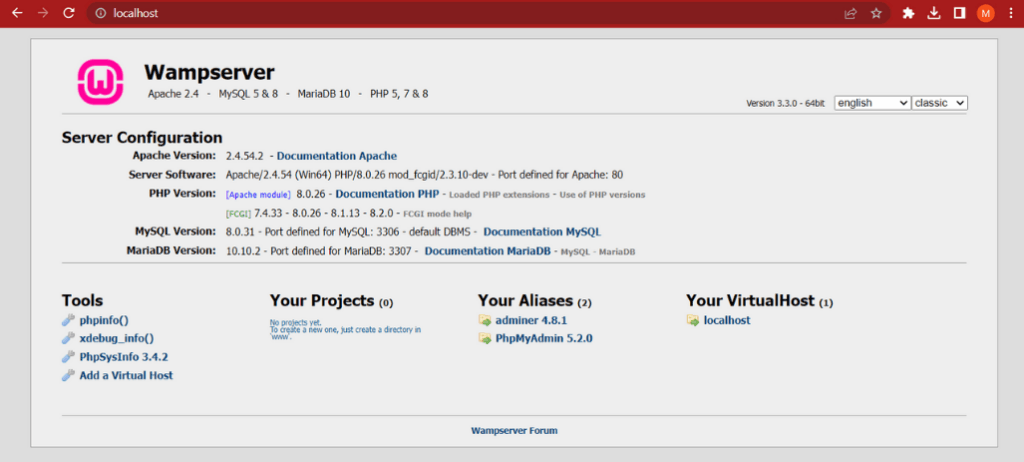
Once the icon turns green, you can test WampServer through a browser like Google Chrome, Firefox, or Edge. Type localhost into the address bar. If the WampServer homepage appears, you’ve succeeded.
Advertisements
Step 3: Configuring WampServer and the Database
The next step is to configure the Wamp web server and create a database for your WordPress site. Here’s how:
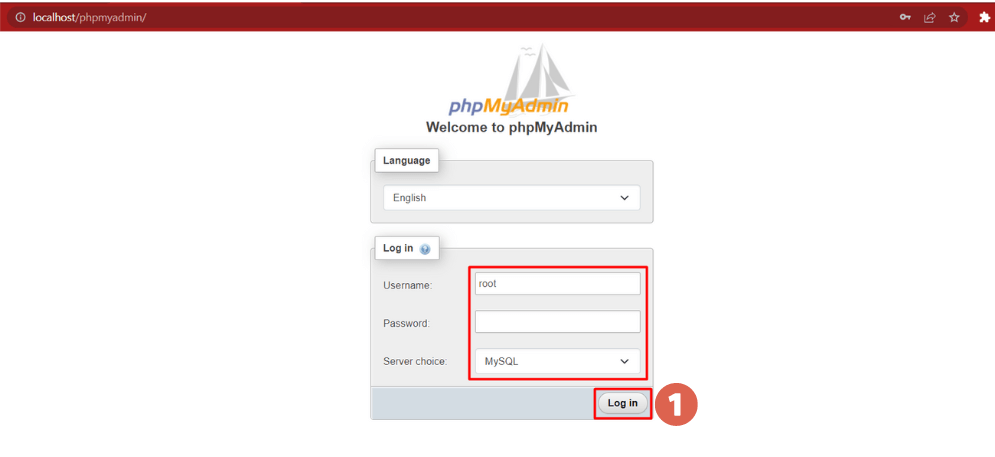
- Type localhost/phpmyadmin/ into your browser’s address bar. Without changing the Username, Password, or Server choice, just click Login.

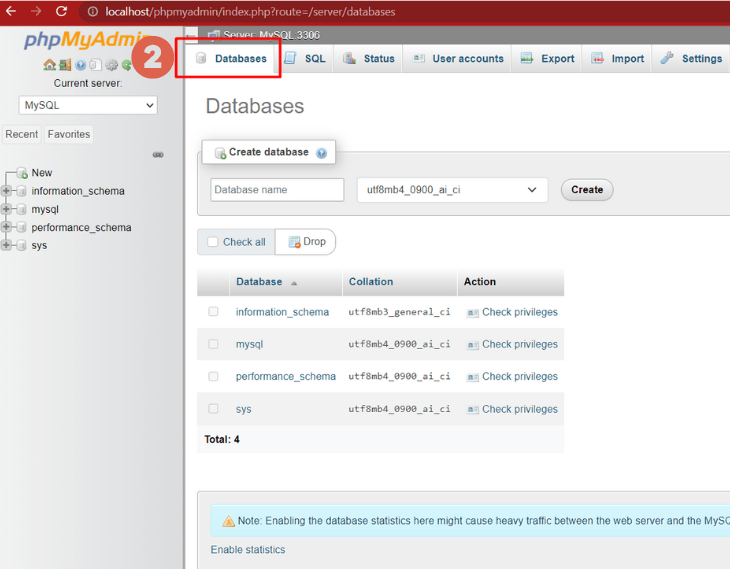
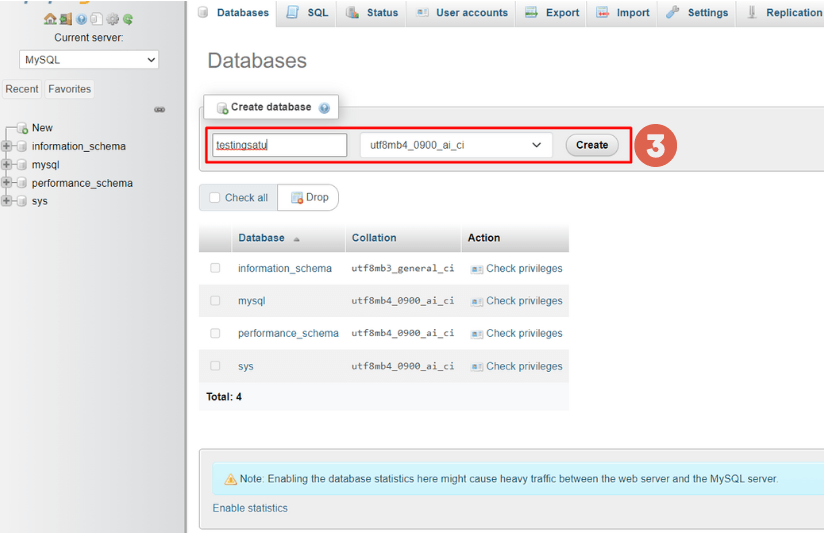
- On the phpMyAdmin main page, click on Databases.

- Enter a name for your database and click Create. Here, we’ll use the name testingsatu. You can use this database name later as your WordPress folder name.

- That’s it! You have successfully created a database in phpMyAdmin.
Advertisements
Step 4: Install WordPress on WampServer
Once your localhost web server is ready, you can proceed with installing WordPress on WampServer. Follow these steps:
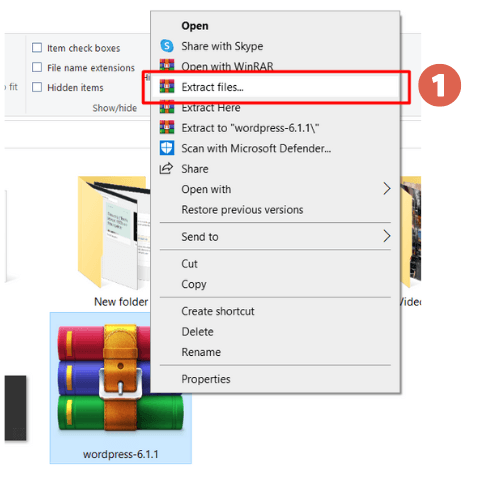
- Extract your WordPress .rar or .zip file by right-clicking it and selecting Extract files….

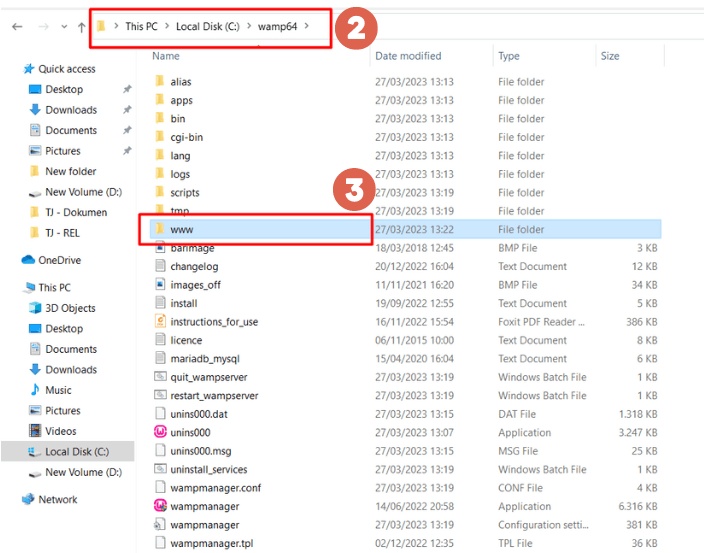
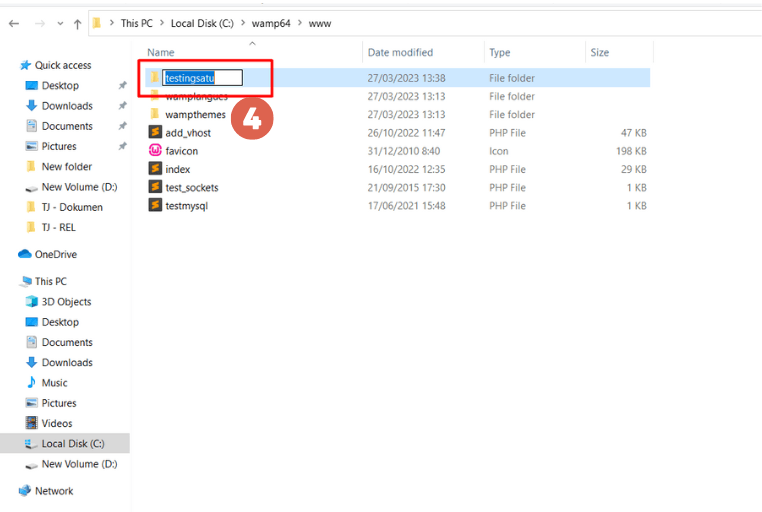
- Copy the extracted WordPress folder. Navigate to Local Disk (C:) > wamp64 > www.

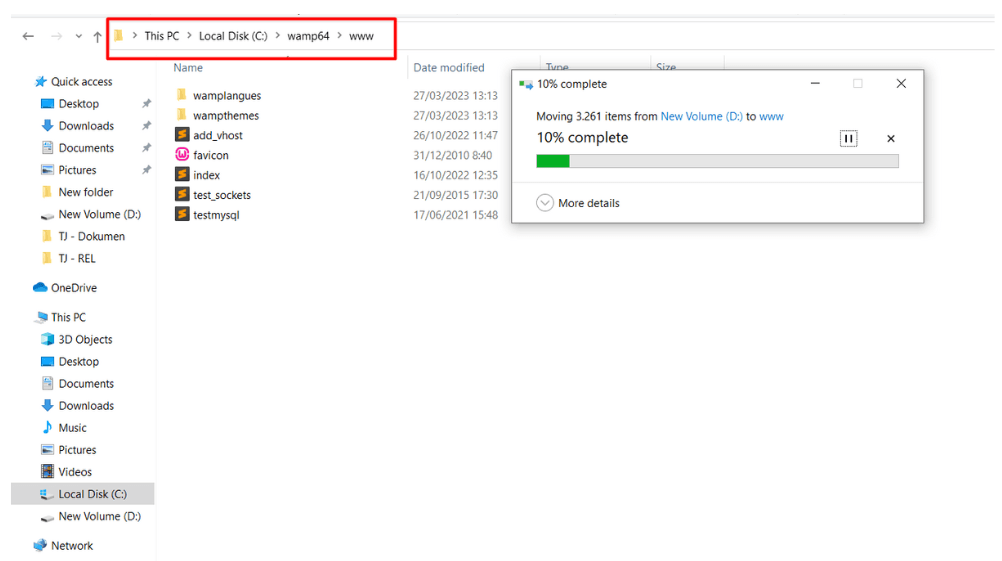
- Paste the WordPress folder into the www directory.

- Once the copying process is complete, rename the WordPress folder to the name of the database you created earlier in phpMyAdmin. We will rename it testingsatu.

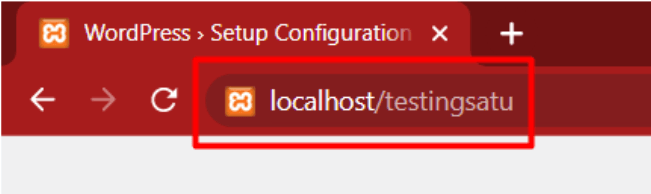
- When you’re done, open your browser and type localhost/[your-wordpress-folder-name]. In our case, we’ll type localhost/testingsatu.

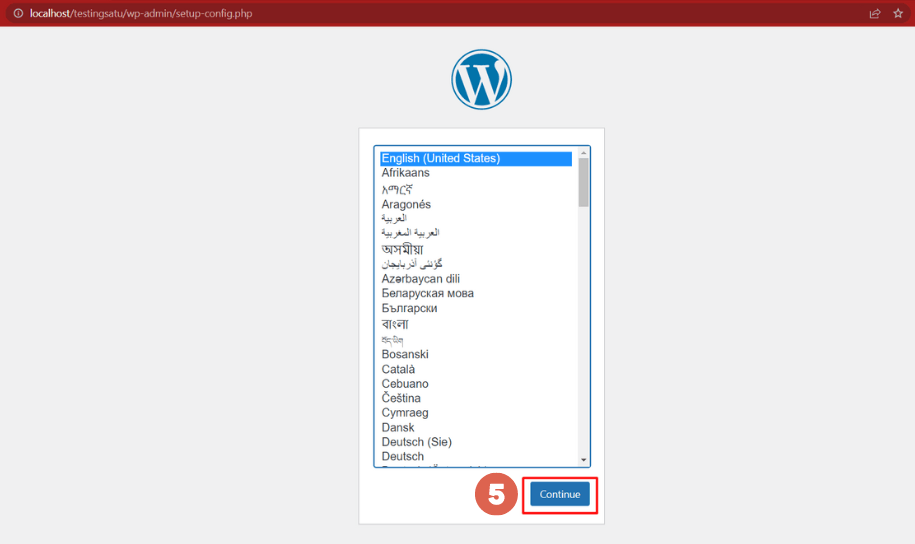
- Choose your desired language for WordPress and click Continue.

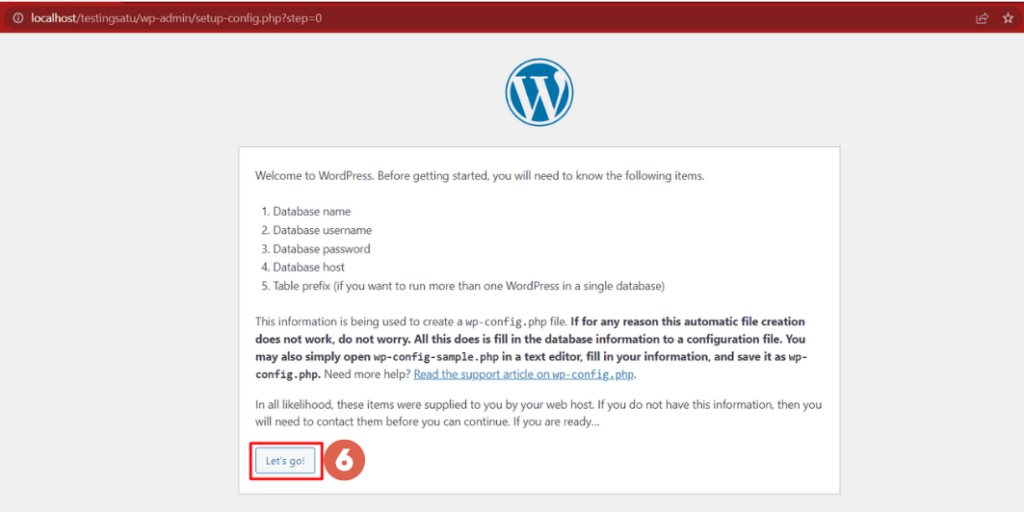
- Next, click Let’s go!.

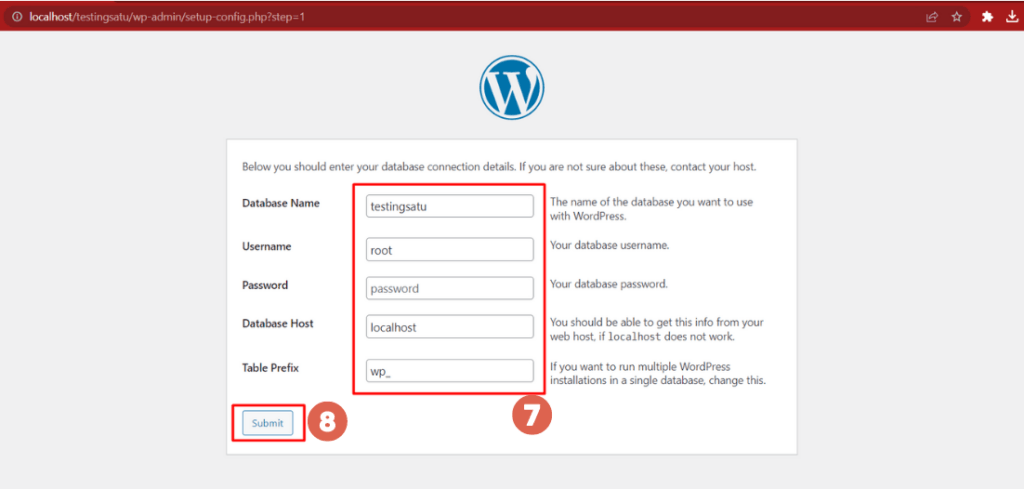
- In the Database Name field, enter your database name. We’re using testingsatu. You don’t need to change the other fields. Click Submit.

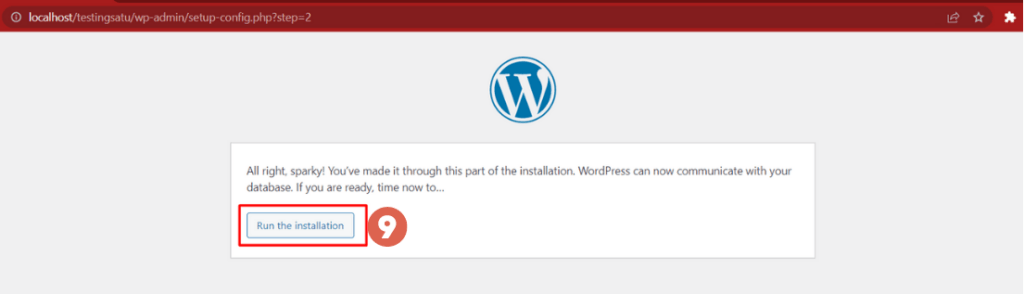
- Then, click Run the installation to start the WordPress installation.

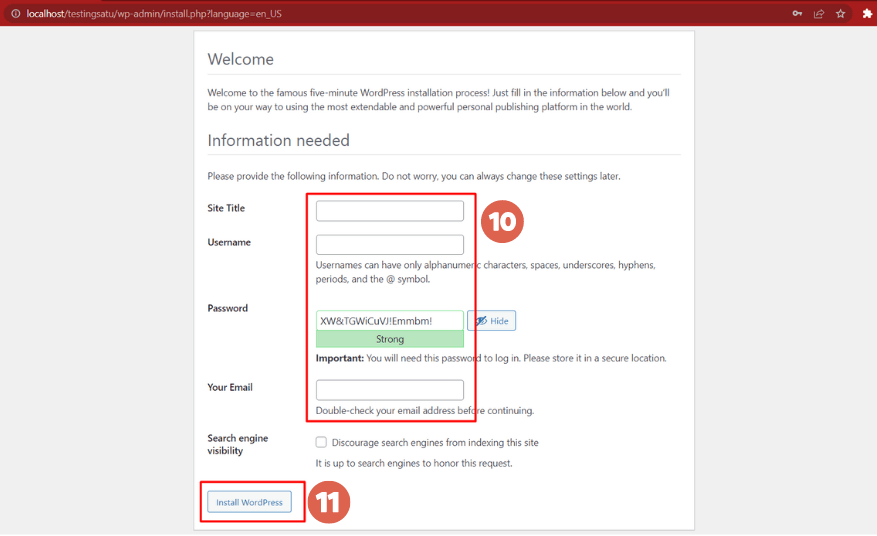
- Enter your basic website information, including Site Title, Username, Password (one is automatically generated, but you can change it), and your Email. If you change the password, make sure the indicator shows Strong. Once done, click Install WordPress.

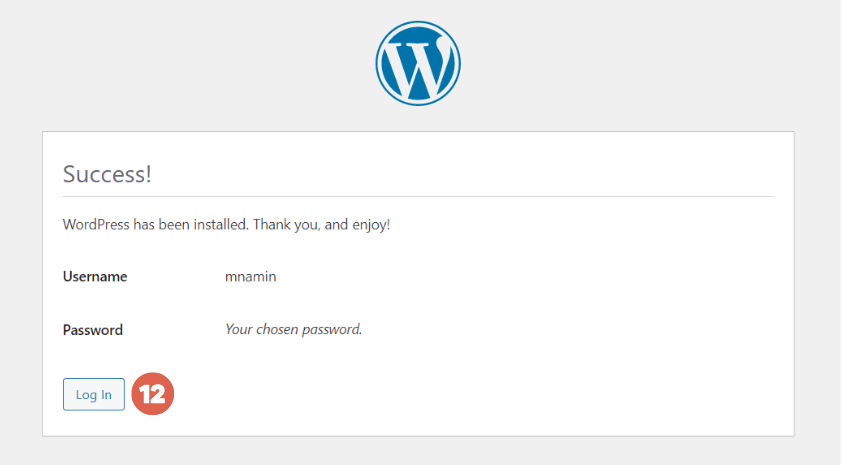
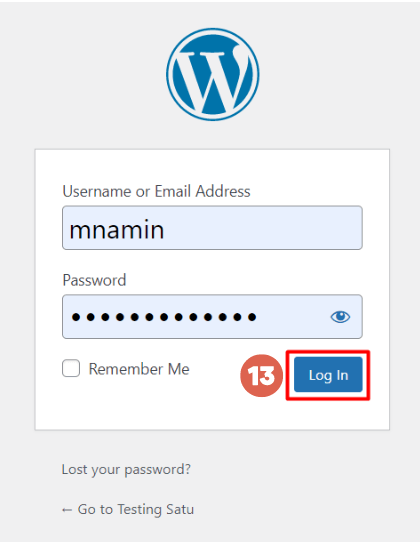
- Next, click Log in.

- Enter the Username and Password you just created. Click Log In.

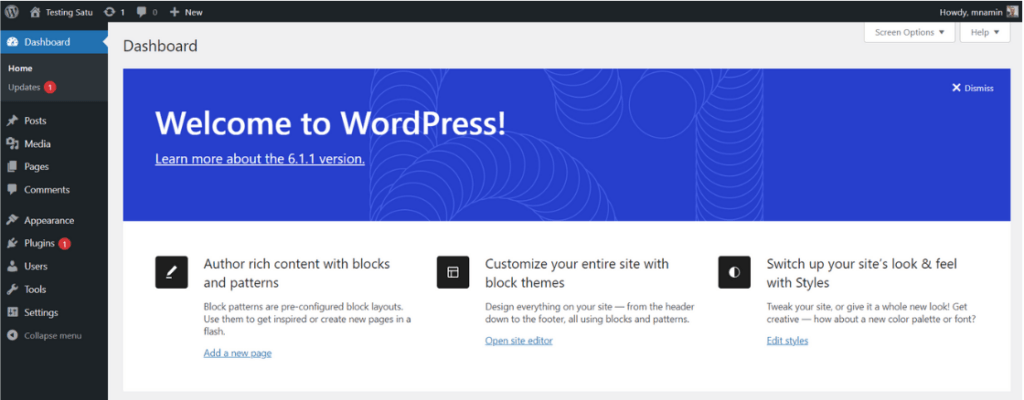
- Congratulations! You have successfully installed WordPress on your localhost using WampServer.

Advertisements
Successfully Installed WordPress on WampServer?
That concludes our basic tutorial on how to install WordPress on WampServer. With this setup, you can develop your website without needing to pay for hosting during the development process.
So, what should you do after installing WordPress? You can install a theme by clicking Appearance in the left-hand menu of your WordPress dashboard and choosing from the available free themes.
If you want to create your own theme, you can follow a tutorial on creating a basic WordPress theme or install WooCommerce in WordPress to build an online store. This allows you to unleash your creativity.
However, for those who prioritize their business, you can entrust your website creation to a professional team like Tonjoo, which has extensive experience developing websites for clients ranging from local businesses to multinational corporations.
Some examples of our work include UGM, Pintartekno.id, Hipwee, and Polygon. Let’s discuss your needs! Contact Tonjoo and build your dream website with us!

For more articles on WordPress, WooCommerce, and web development, check out Tonjoo Studio Blog by Moch. Nasikhun Amin.
Last Updated on October 18, 2025 by Moch. Nasikhun Amin

Advertisements